Crochet Baby Jacket Guide: Yarn, Sizing, Closures, and a Simple Build Plan
Crochet Baby Jacket in 60 Seconds
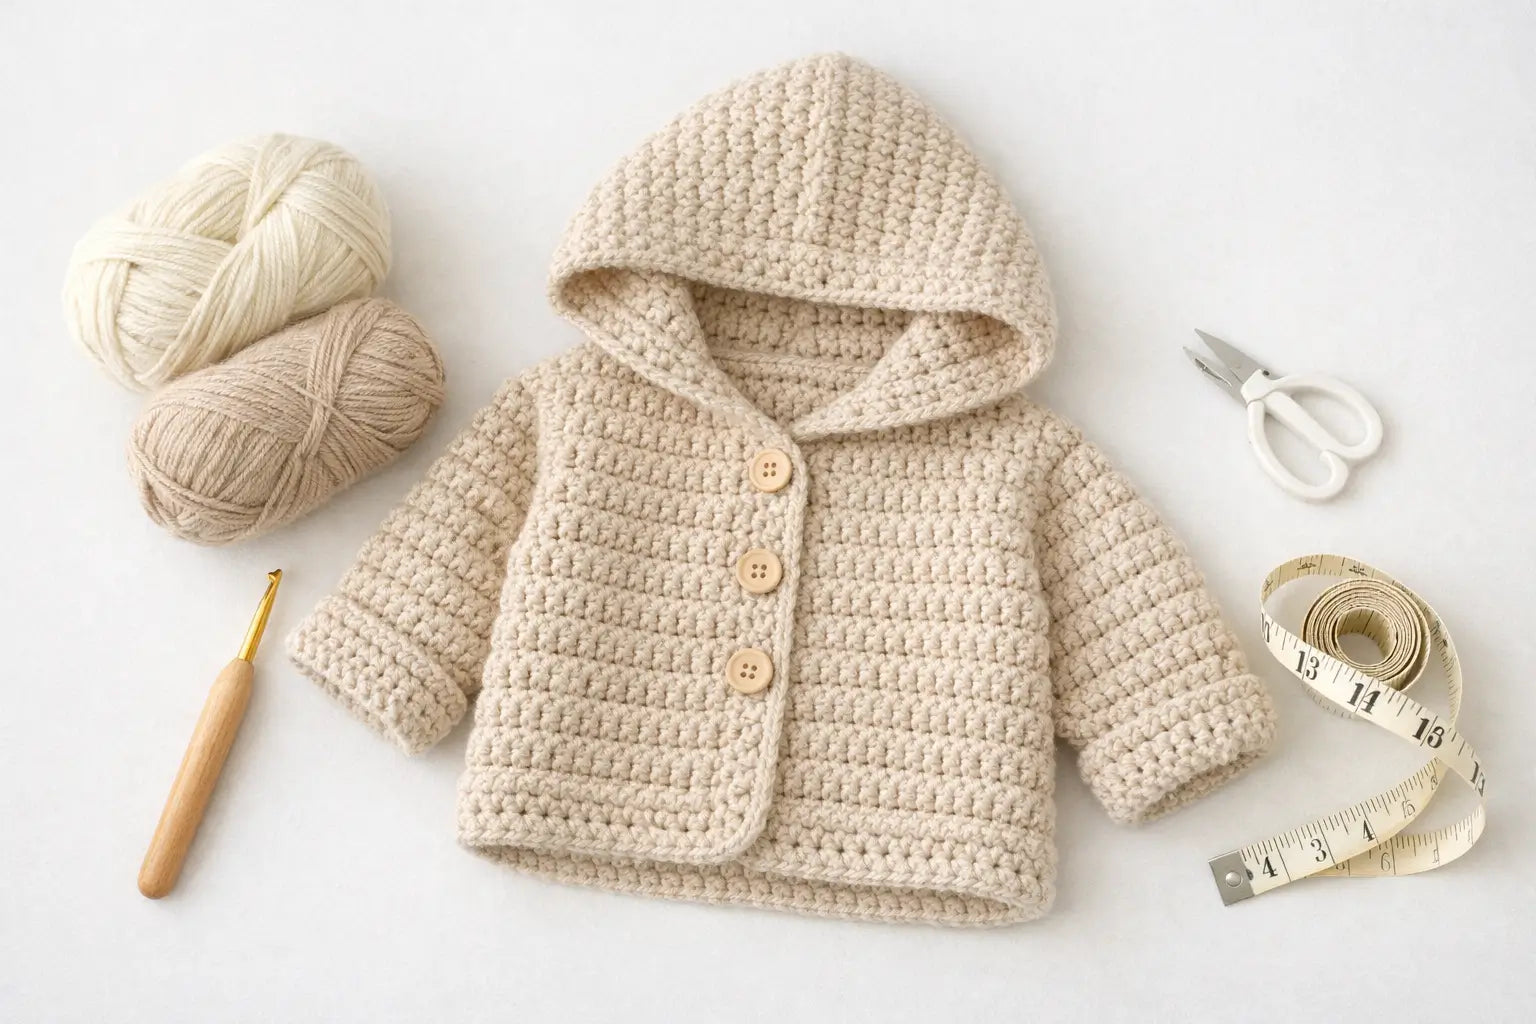
A crochet baby jacket is a crocheted outer layer that’s often warmer or more structured than a light cardigan—usually because of thicker yarn, denser stitches, or added features like a hood and a sturdier closure.
- Make 3 decisions first: yarn (comfort + easy washing), size (measurements over age labels), closure (practicality + durability).
- Jacket vs cardigan names overlap: rely on yarn weight, gauge, and finished measurements more than the title.
- Simple roadmap: choose size → choose yarn → swatch gauge → make body/sleeves → finish edges → add closure → wash/shape.
Boundary notes:
- This is a planning and decision guide, not a stitch-by-stitch pattern.
- Always confirm fit with gauge and measurements when possible.
If you’re unsure whether you need a jacket or a cardigan, the next section will help you choose based on use and season.
Crochet Baby Jacket vs Baby Cardigan: What’s the Difference?
A “baby jacket” usually implies more warmth or structure, while a “baby cardigan” often implies lighter layering—but pattern naming can vary, so it’s best to judge by specs.
- Jacket signals: thicker yarn, denser texture, longer length, hood, or a more secure closure.
- Cardigan signals: lighter yarn, more drape, and easier on/off for indoor layering.
- Fast shortcut: pick the style for the scenario (indoors vs outdoors), then validate with measurements and gauge.
Boundary notes:
- Two patterns can use different names for the same silhouette—check finished measurements.
- Texture-heavy stitches can reduce stretch; account for that in sizing.

Once you know the style you want, the biggest “feel and care” decision is the yarn.
Choose Yarn for Comfort + Easy Washing (Without Guesswork)
For baby jackets, the most practical choice is usually the yarn that balances a soft feel with easy care, because baby items get washed often.
- If easy care is your top priority: choose a yarn you’re comfortable washing regularly, and follow the yarn label’s care guidance.
- If softness is your top priority: swatch and check handfeel before committing; some yarns soften after washing.
- If warmth is your top priority: thicker yarn weights and denser stitches usually increase warmth (and finish faster).
- If drape is your top priority: lighter weights and more open textures tend to drape more.
Boundary notes:
- Avoid “sensitive skin” guarantees—comfort varies; a small swatch test is more reliable than claims.
- The stitch pattern affects warmth and stretch as much as the yarn does.
Next, make sure your hook choice matches your goal—because gauge is what decides final size.
Hook Size and Gauge: How to Get the Fit Right
Hook size is a starting point; gauge is what controls the jacket’s final measurements.
- Gauge controls fit: a small difference in stitch/row count can change chest width and sleeve length.
- Adjust the hook to match gauge: if your fabric is too tight/small, go up a hook size; if too loose/large, go down.
- Re-check after washing: some yarns change slightly after a wash; a test-washed swatch reduces surprises.
Quick steps to correct gauge:
- Make a swatch larger than the stated gauge area.
- Measure stitches/rows in the center of the swatch.
- Adjust hook size and re-swatch until you match gauge (or intentionally adjust sizing math).
Boundary notes:
- Don’t force a hook size just because it’s “recommended”—fit comes from gauge.
- If you change yarn weight, expect gauge and size to change too.
With gauge under control, the next step is choosing the size by measurement (not just “6–12 months”).
Sizing by Measurement: Newborn to Toddler (Reference Table)
Sizing is easiest when you start with chest measurement, then check length and sleeves—because “age sizing” varies across patterns and babies.
- Measure first (best case): chest, center back length, and sleeve/arm length.
- No measuring available? use a reference chart to map age labels to likely measurements, then choose the closest chest.
- Plan ease for layering: denser stitches stretch less, so a close-fitting size can feel tight quickly.
Reference baby sizing (body measurements)
Source: Craft Yarn Council baby size chart (use as a reference point): craftyarncouncil.com
| Approx. age | Chest (in / cm) | Center Back (in) | Arm length to underarm (in) | Armhole depth (in) |
|---|---|---|---|---|
| 3 mo | 16 / 40.5 | 10.5 | 6.0 | 3.25 |
| 6 mo | 17 / 43 | 11.5 | 6.5 | 3.5 |
| 12 mo | 18 / 45.5 | 12.5 | 7.5 | 3.75 |
| 18 mo | 19 / 48 | 14.0 | 8.0 | 4.0 |
| 24 mo | 20 / 50.5 | 18.0 | 8.5 | 4.25 |
How to use the table (simple method)
- Pick the closest chest first.
- Choose center back length based on whether you want a shorter cardigan feel or a longer jacket/coat feel.
- Use sleeve and armhole depth as a check to avoid tight arm movement.
Boundary notes:
- Treat age as approximate; if you can measure the baby or compare to a well-fitting garment, that’s better than charts.
- Always reconcile sizing with your gauge and stitch density.

Now that you’ve locked size and yarn, this build plan helps you execute without rework—without pretending to replace a full pattern.
A Simple Build Plan (Overview Steps, Not a Full Pattern)
Most crochet baby jackets follow a similar structure; this overview helps you plan the project before you commit to a specific pattern.
- Goal: reduce rework by deciding size, yarn, and closure early.
- Reality: different patterns use different stitches, but the build logic is similar.
Basic build steps
- Choose the size by measurements (chest first).
- Choose yarn for comfort + easy care.
- Swatch and confirm gauge.
- Build the body (top-down or panels).
- Add sleeves.
- Finish edges/neckline so the garment holds shape.
- Add closure and reinforce stress points.
- Wash/shape per yarn care guidance.
DIY planning checklist (copy/paste)
- [ ] Size chosen by chest + length
- [ ] Yarn selected and care method checked
- [ ] Gauge swatch matches the pattern/spec
- [ ] Construction method selected (top-down vs panels)
- [ ] Closure planned (type + placement)
- [ ] Finishing plan set (edges, ends, reinforcement points)
- [ ] Care plan ready (test-wash swatch if possible)
Boundary notes:
- This is an overview; follow a specific pattern/tutorial for stitch-by-stitch instructions.
- If you change yarn weight, revisit gauge and sizing.
Ease and layering often decide whether a jacket feels comfortable—especially if it’s meant for cooler weather.
Ease and Layering: When to Size Up (Practical Scenarios)
Ease is the extra room that makes a jacket comfortable over layers; the right amount depends on use, season, and stitch stretch.
- Indoor light layer: less ease is usually fine (onesie + thin shirt).
- Outdoor warm layer: plan more ease for thicker layers underneath.
- Dense textures stretch less: size by measurement, then allow more room if the fabric is firm.
- Longer coat-style: often benefits from extra ease to avoid riding up.
Boundary notes:
- Ease is a choice, not a rule—confirm with your gauge and desired layering.
- If you’re between sizes, prioritizing chest comfort typically prevents the most fit problems.
Once fit is comfortable, the closure choice affects daily usability and durability.
Closures (Buttons vs Ties vs Zipper): Practical Trade-offs + Risk Checklist
The most practical closure is the one you can attach securely, that’s easy to use for your daily routine, and that holds up to washing.
- Buttons: classic look and quick to open/close, but must be attached very securely.
- Ties: adjustable and soft, but can come undone and may dangle if too long.
- Zippers: fast and secure, but require careful finishing and comfort considerations near the neck.
Closure comparison table (practical decision support)
| Closure | On/off speed | Adjustability | Wash durability | Practical notes |
|---|---|---|---|---|
| Buttons | Medium | Low–Medium | Medium | Reinforce button band; test attachment strength. |
| Ties | Medium | High | Medium | Keep ends tidy; avoid overly long ties. |
| Zipper | Fast | Low | High | Install carefully; protect the neckline from rough edges. |
Risk-awareness checklist (informational)
- [ ] Tug-test closures and trims (especially buttons) after attachment.
- [ ] Reinforce high-stress points (top closure area, neckline, pocket corners).
- [ ] Avoid rough edges or hard trim near the baby’s face/neck.
- [ ] If selling products for young children, review applicable safety and labeling requirements for your product category.
Why mention small parts at all?
U.S. regulations and CPSC guidance discuss choking/ingestion risks from small parts for certain children’s products intended for young children. This section is awareness and due diligence—not a claim that any one closure is “compliant.”
Boundary notes:
- This is not legal advice; requirements vary by product category and market.
- For DIY gifts, focus on secure attachment and avoiding loose/dangling parts.
Good finishing turns a “cute project” into a jacket that survives real-life washing and wear.
Finishing for Durability: Edges, Ends, and Wash-Resilience
Durability mostly comes down to secure ends, reinforced stress points, and consistent edging.
- Weave in ends thoroughly: baby garments get tugged and washed often.
- Reinforce stress points: underarms, neckline, and closure bands take the most strain.
- Use consistent edging: it helps the garment hold shape and look neat.
- Follow care guidance: a swatch wash test is the simplest way to avoid surprises.
Durability checklist
- [ ] Ends woven in and trimmed (no loose tails)
- [ ] Seams/joins reinforced at high-stress areas
- [ ] Closure band reinforced (especially around the top closure)
- [ ] Edging consistent and not overly tight (to avoid puckering)
- [ ] Care method confirmed (wash/dry expectations)
Boundary notes:
- Different fibers behave differently after washing—test if you’re unsure.
- “Neatness” improves with even tension more than fancy stitches.
If you want quick answers to common questions (including sizing and closures), the FAQ below is designed for fast scanning.
FAQ: Quick Answers to Common Crochet Baby Jacket Questions
-
Q: What is a crochet baby jacket?
A: It’s a crocheted outer layer for babies, often designed to be warmer or more structured than a light cardigan. The terms can overlap, so check yarn weight, gauge, and finished measurements. -
Q: Crochet baby jacket vs cardigan—what’s the difference?
A: “Jacket” usually implies more warmth/structure, while “cardigan” is often lighter layering, but naming varies. Use the intended season and finished measurements to decide. -
Q: What yarn is best for a baby jacket that needs frequent washing?
A: Choose a yarn you can care for easily and that feels comfortable after a swatch test. Prioritize regular-wash practicality over “special care” fibers if the jacket will be worn often. -
Q: How do I size a baby jacket if the pattern only lists ages?
A: Map the age label to a measurement reference (chest first), then choose the closest chest and adjust length/sleeves if needed. Reference: Craft Yarn Council baby size chart. -
Q: Do I really need to swatch for gauge?
A: If fit matters, yes—gauge is what determines final size, especially for chest and sleeves. If you skip swatching, be prepared for sizing surprises. -
Q: Buttons vs ties—what’s more practical for babies?
A: Buttons are tidy and quick but must be attached very securely; ties are adjustable but can dangle if too long. For sold products, review applicable safety/labeling requirements for your category. -
Q: Hooded baby jacket: when is it useful?
A: A hood can add warmth and wind protection outdoors, but it adds bulk around the neckline. For indoor use, a simpler neckline is often easier. -
Q: How do I keep edges neat?
A: Consistent tension and a simple edging usually matter more than the specific stitch. Avoid pulling edging too tight, which can cause puckering. -
Q: Can a crochet-look baby jacket be produced at scale?
A: Often yes, but the approach depends on the target texture and construction; true hand-crochet can be harder to scale consistently. A clear spec pack helps determine feasible options.
For readers building this as a product (not a DIY project), the next section focuses on practical sourcing and sampling prep.
For Brands: Crochet-Look Baby Jackets (Scale Options, Sampling Checklist, and What Affects MOQ/Lead Time)
If you’re developing a crochet-look baby jacket as a product, the fastest way to reduce sampling cycles is to define the “must-match” details clearly and provide complete measurements.
- Scalability reality: true hand-crochet can be harder to scale consistently; crochet-look textures may be achieved through knit structures, trims, or hybrid approaches depending on design.
- Quality lever: spec clarity (measurements, texture, trims) reduces back-and-forth.
- Planning lever: order plan (sizes/colors/quantity/destination) affects feasibility and timing.
Sampling / spec pack checklist (what to send)
- Reference photos: front/back/close-ups with callouts
- Material direction: fiber preference, handfeel target, yarn weight, colors
- Measurements: size range + measurement chart (chest/length/sleeves)
- Texture/stitch guidance: stitch notes or a physical swatch reference if available
- Closures & trims: type, placement, quantity, durability expectations
- Branding: labels, hangtags, packaging requirements
- Target market/destination: where you sell (affects labeling/care planning)
- Order plan: estimated quantity and colorways (finals depend on confirmed spec)
What usually affects MOQ and lead time (no numbers)
- Design complexity and texture detail
- Yarn availability and color approvals
- Size range breadth and grading complexity
- Trims/closures and packaging requirements
- Any required testing or documentation (varies by market/product)
- Destination logistics and shipping mode
Care labeling note (US)
If you sell textile wearing apparel in the U.S., the FTC’s Care Labeling Rule explains care instruction requirements and references the rule text: FTC overview and eCFR Part 423.
Boundary notes:
- This section is process guidance, not a promise of any specific method, MOQ, or lead time.
- Confirm requirements with your counsel/compliance team for your product category and market.
For brands/product development inquiries: A practical starting point is your reference photos + size chart + trim/closure details.
To wrap up, here are quick picks and next steps for both DIY makers and brand teams.
Summary: Quick Picks + Next Steps (DIY and Brand Paths)
Key takeaways
- Start with the 3 decisions: yarn (care + comfort), size (measurements), closure (practicality + durability).
- Use measurement-first sizing to avoid age-label surprises: Craft Yarn Council baby size chart.
- Treat gauge as the “fit control” and swatch when sizing matters.
- Choose closures you can attach securely, and reinforce stress points.
Next steps (choose your path)
- DIY path: select a pattern that matches your yarn weight and the measurement size you want, then swatch and adjust for gauge.
- Brand path: build a spec pack using the checklist above so sampling starts close to your target.
Contact XTCLOTHES to start a sampling discussion.