How to Knit a Sweater – Step-by-Step Guide for Beginners
Introduction: Why Learning to Knit a Sweater is Easier Than You Think
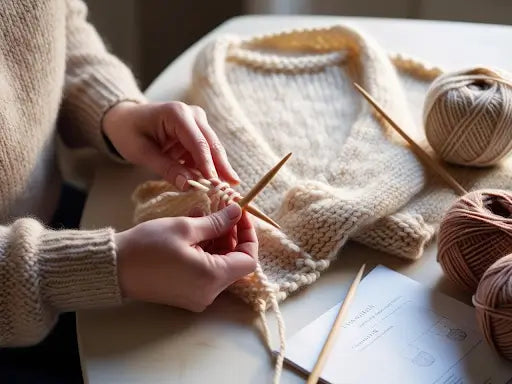
Knitting a sweater may seem like an intimidating project, but with the right guidance, even beginners can create a cozy handmade sweater. Whether you want to knit your first pullover or cardigan, this guide will take you through each step—from choosing the right yarn and needles to binding off and finishing your sweater beautifully.
Who is This Guide For?
This guide is perfect for:
-
Absolute beginners who want to knit their first sweater.
-
Intermediate knitters looking to refine their skills.
-
DIY enthusiasts interested in handmade fashion.
By the end of this guide, you’ll have a beautiful hand-knitted sweater and the confidence to take on more knitting projects!
What You’ll Learn in This Guide
-
How to choose the right yarn, needles, and knitting pattern.
-
The fundamental knitting techniques needed to complete a sweater.
-
Step-by-step sweater knitting instructions, from cast-on to finishing touches.
-
Common knitting mistakes & how to fix them.
-
Ways to customize your sweater with colors, textures, and patterns.
What You Need to Get Started
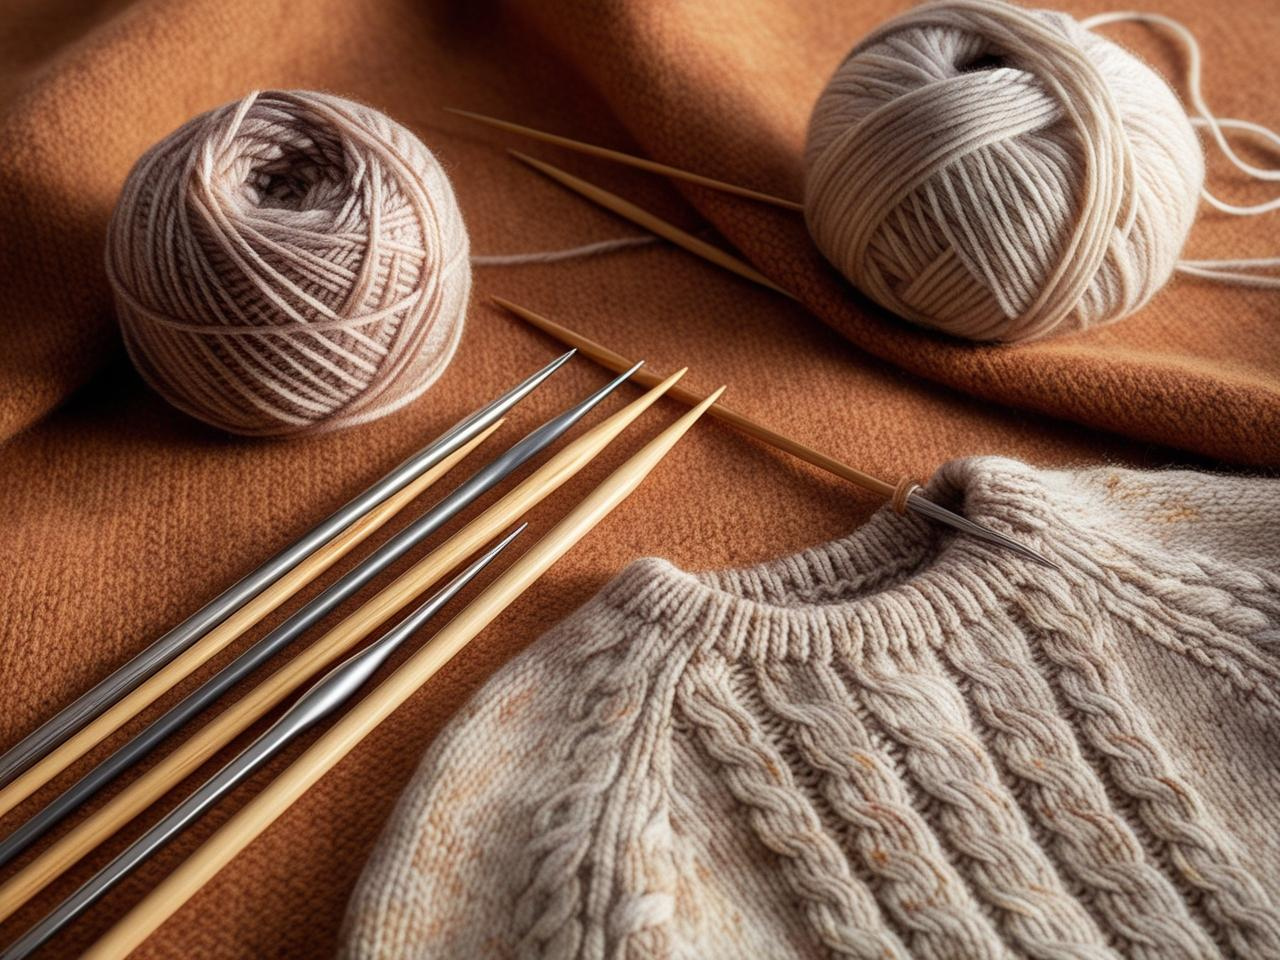
Before you begin knitting your first sweater, you need the right materials and tools. Having the correct supplies ensures a smooth knitting process and a well-fitting, professional-looking sweater.
Choosing the Best Yarn for Sweater Knitting
The type of yarn you choose will determine the texture, warmth, and durability of your sweater. Here’s a breakdown of the best yarn options:
|
Yarn Type |
Characteristics |
Best For |
|
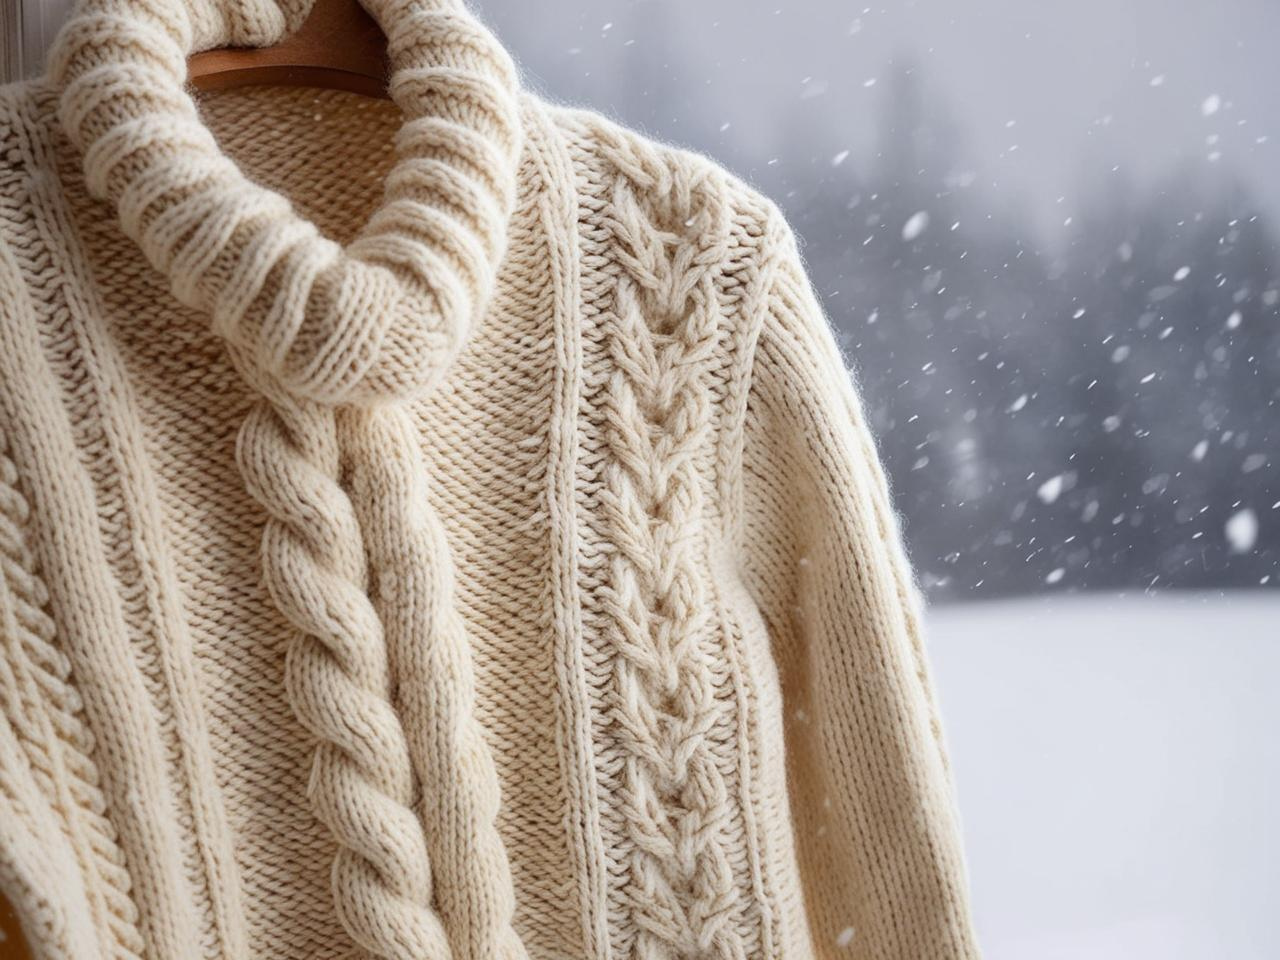
Wool |
Warm, elastic, durable |
Winter sweaters, long-lasting wear |
|
Cotton |
Lightweight, breathable, no stretch |
Summer sweaters, casual wear |
|
Acrylic |
Affordable, machine washable |
Budget-friendly projects |
|
Alpaca |
Soft, warm, hypoallergenic |
Luxurious, cozy sweaters |
🎯 Pro Tip:
If you’re a beginner, use worsted-weight wool—it’s easy to work with and holds its shape well.

🔗 External Reference:
📰 KnitPicks: "Best Yarn for Sweaters"
Choosing the Right Knitting Needles
Knitting needles come in different materials, sizes, and types. The needle size and material you choose will affect your knitting speed, comfort, and stitch definition.
|
Needle Type |
Pros |
Best For |
|
Straight Needles |
Good for beginners, easy to handle |
Flat pieces, seamed sweaters |
|
Circular Needles |
Ideal for seamless knitting, reduces wrist strain |
Sweaters in the round, larger projects |
|
Double-Pointed Needles (DPNs) |
Used for small, circular sections |
Sleeves, necklines |
🎯 Pro Tip:
For knitting sweaters, circular needles (24-32 inches long) are the best choice—they allow you to knit in the round or knit flat with less hand fatigue.
🔗 Recommended YouTube Video:
🎥 YouTube: "Knitting Needle Guide for Beginners"
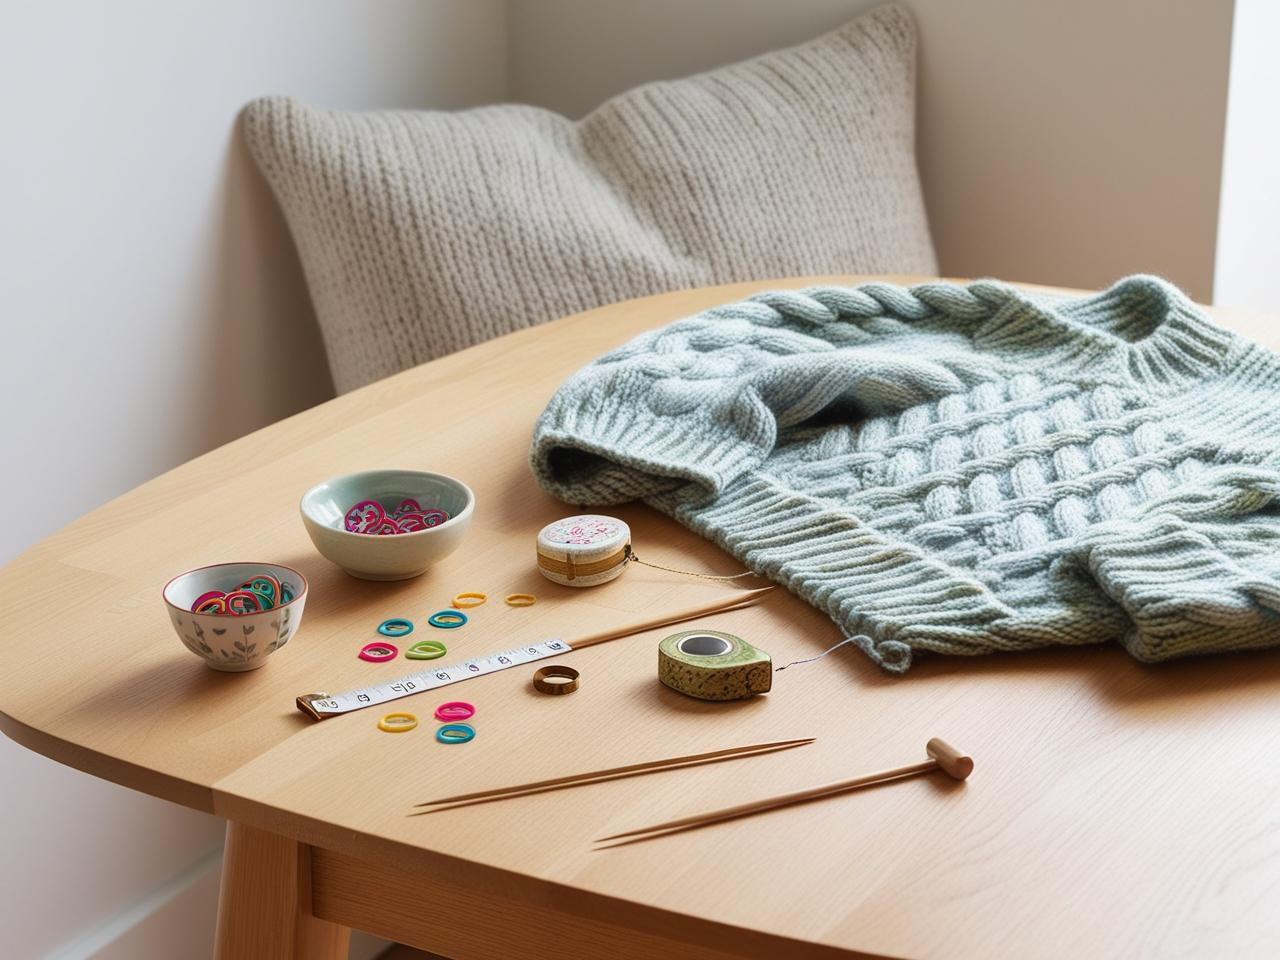
Essential Tools for Sweater Knitting
Apart from yarn and needles, here are a few must-have tools that will make your knitting project easier:
-
Stitch Markers – Helps keep track of pattern sections.
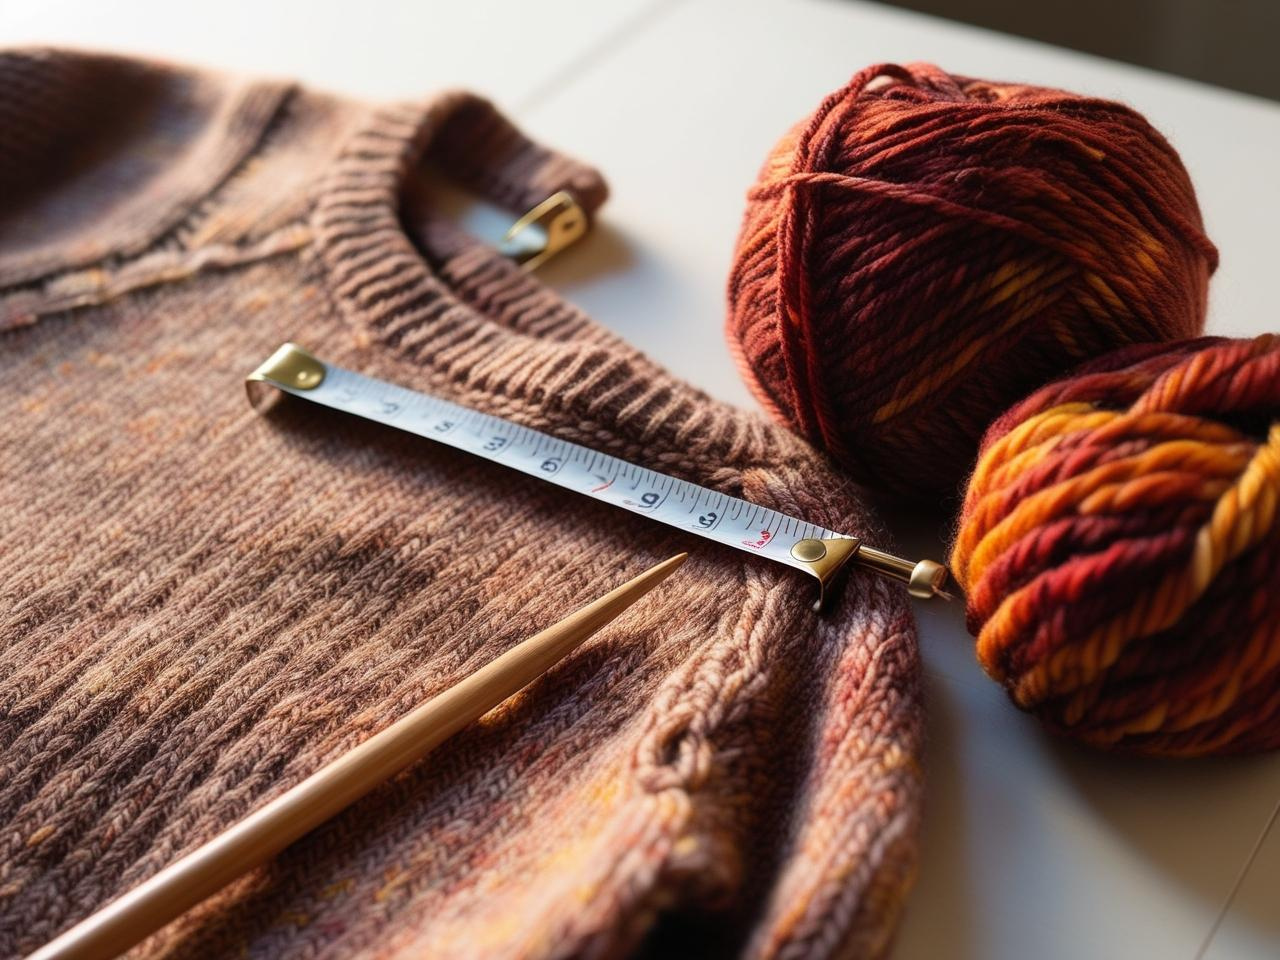
-
Tape Measure – Ensures accurate sizing.
-
Darning Needle – Used to weave in loose ends.
-
Row Counter – Helps track your progress in complex patterns.
-
Blocking Mats & Pins – Shapes the sweater for a polished look.
🎯 Pro Tip:
A knitting journal can help track row counts, pattern modifications, and notes for future projects.
🔗 External Reference:
📰 KnittersReview: "Must-Have Tools for Knitters"
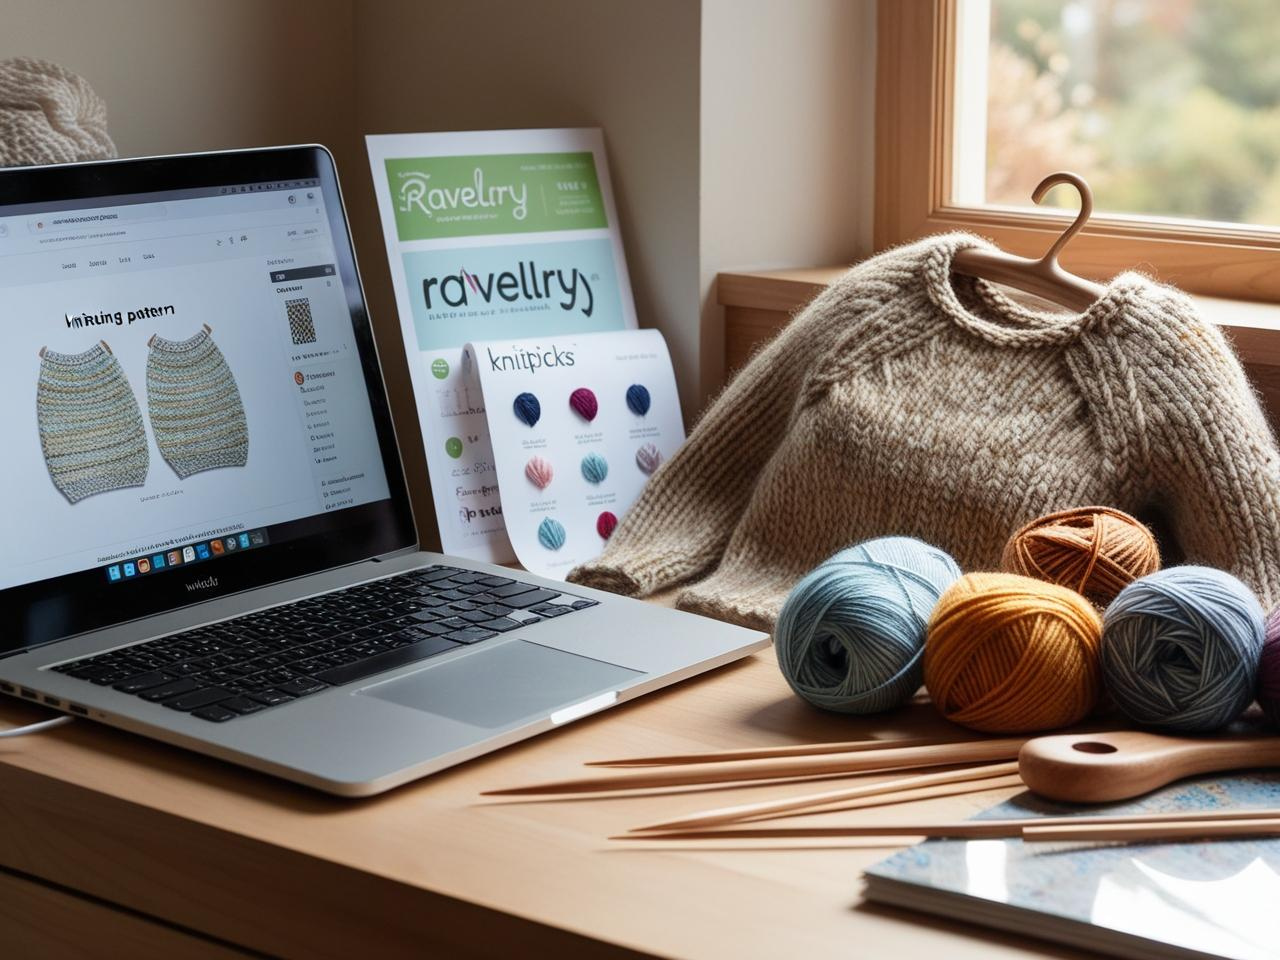
How to Choose the Right Knitting Pattern
Knitting a sweater requires following a clear, well-structured pattern to ensure the correct fit and design. But with thousands of patterns available, how do you choose the right one?
This section will guide you through understanding pattern difficulty levels, where to find the best patterns, and how to read knitting instructions properly.
Understanding Knitting Pattern Difficulty Levels
Knitting patterns come in different skill levels, ranging from beginner-friendly to advanced. Choosing the right difficulty level prevents frustration and ensures a smooth knitting experience.
|
Skill Level |
What It Includes |
Best For |
|
Beginner |
Basic stitches (knit, purl), simple shaping, no complex techniques |
First-time sweater knitters |
|
Intermediate |
Ribbing, simple colorwork, minor shaping techniques |
Knitters with experience in scarves & hats |
|
Advanced |
Complex cables, lacework, intricate shaping, multi-color knitting |
Experienced knitters comfortable with patterns |
🎯 Pro Tip:
If this is your first sweater, start with a simple, seamless pullover or a raglan-style sweater, as they require minimal shaping and sewing.
🔗 External Reference:
📰 Ravelry: "Sweater Patterns for Every Skill Level"
Where to Find the Best Knitting Patterns
There are two types of knitting patterns: free patterns and paid patterns. Here’s where to find high-quality options:
Best Free Knitting Pattern Websites
-
Ravelry – The largest online knitting pattern library.
-
KnitPicks – Offers free beginner-friendly sweater patterns.
-
Drops Design – Scandinavian-inspired free sweater patterns.
-
AllFreeKnitting – A hub for simple, step-by-step guides.
Best Paid Pattern Resources
-
Etsy – Independent designers sell unique, customizable patterns.
-
Purl Soho – High-quality, well-explained knitting patterns.
-
Interweave – Advanced and fashion-forward knitting designs.
🎯 Pro Tip:
If you're a visual learner, look for patterns that include video tutorials or step-by-step images to make the process easier.
🔗 Recommended YouTube Video:
🎥 YouTube: "How to Read a Knitting Pattern for Beginners"
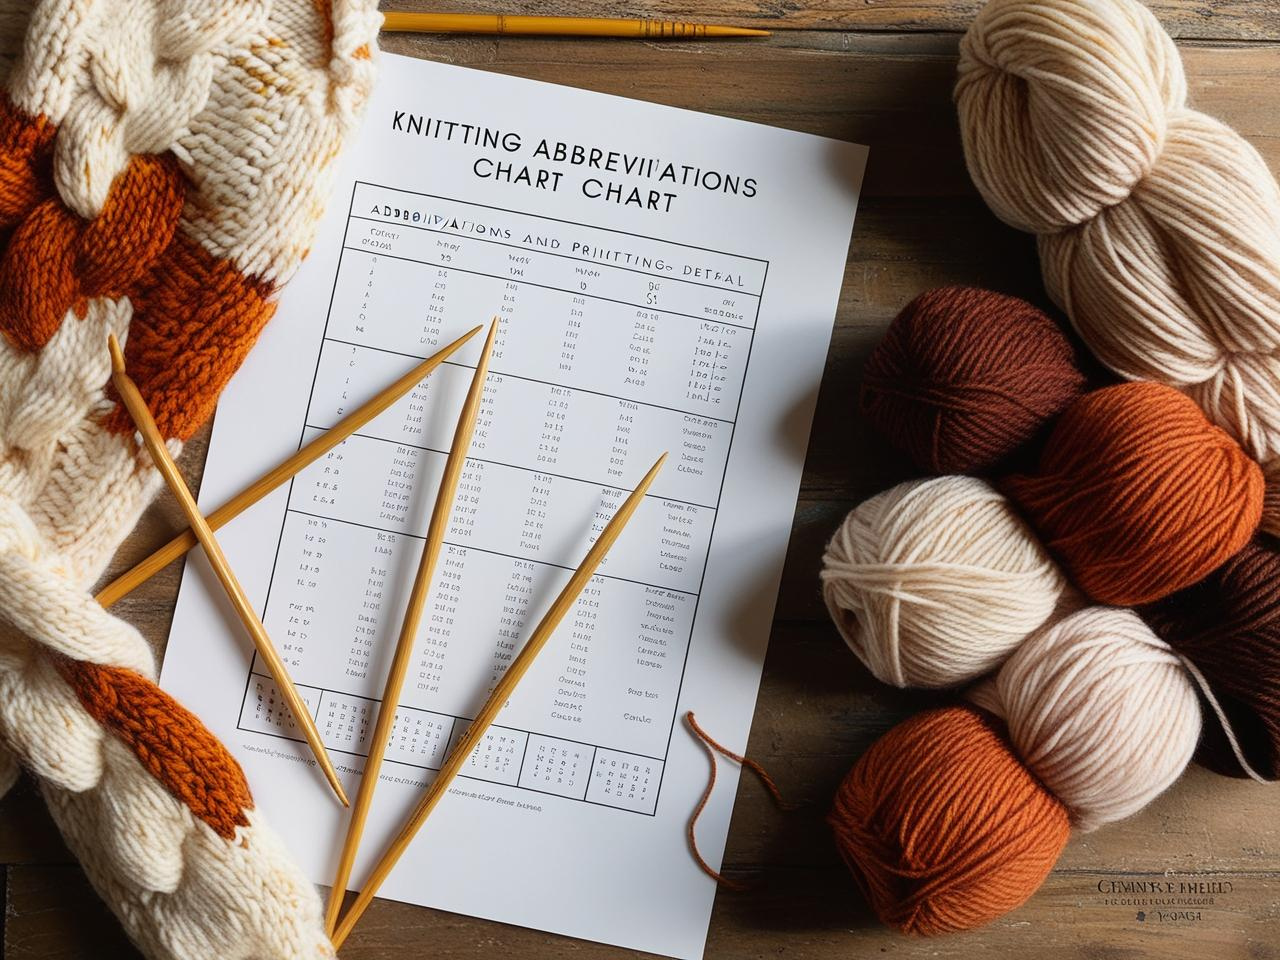
How to Read a Knitting Pattern (Abbreviations & Symbols Explained)
Knitting patterns use shorthand and abbreviations to describe stitch sequences. Here’s a quick reference guide to understanding them:
|
Abbreviation |
Meaning |
Example |
|
CO |
Cast on stitches |
CO 60 sts (Cast on 60 stitches) |
|
K |
Knit stitch |
K all (Knit all stitches in the row) |
|
P |
Purl stitch |
P all (Purl all stitches in the row) |
|
RS/WS |
Right side / Wrong side |
Work in pattern on RS, purl on WS |
|
Dec |
Decrease a stitch |
K2tog (Knit 2 stitches together) |
|
Inc |
Increase a stitch |
M1 (Make one new stitch) |
|
BO |
Bind off (finishing step) |
BO all sts (Bind off all stitches) |
🎯 Pro Tip:
If you’re new to knitting, print a knitting abbreviations chart and keep it handy while working on your first sweater project.
🔗 External Reference:
📰 Craft Yarn Council: "Knitting Abbreviations & Symbols Guide"
Understanding Basic Knitting Techniques
Before starting your sweater, it’s essential to master fundamental knitting techniques. These stitches and methods will form the foundation of your project, ensuring your sweater is well-structured and professionally finished.
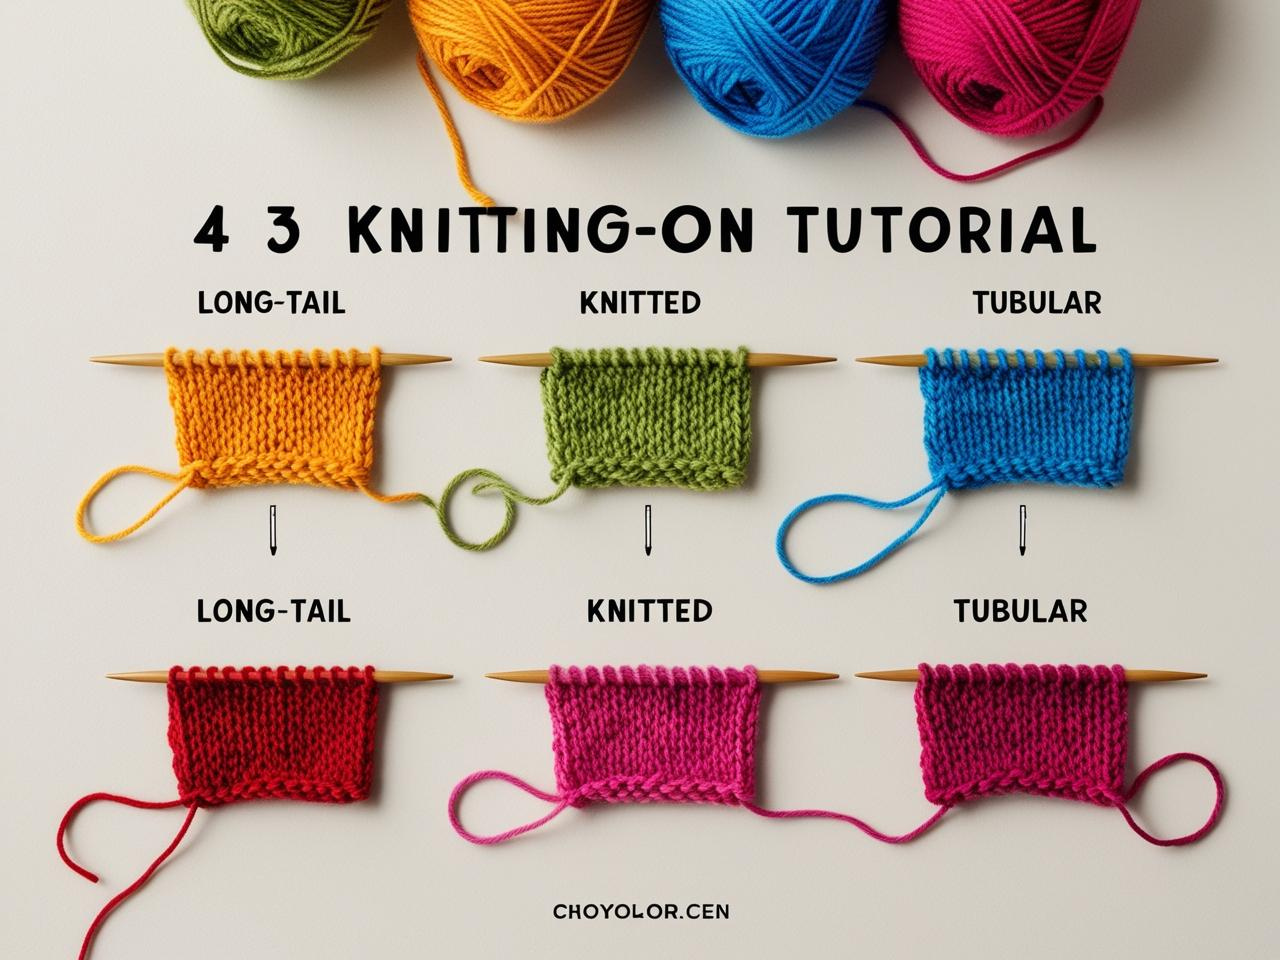
Casting On (How to Start Your Sweater)
Casting on creates the first row of stitches on your needles. The most common casting-on methods include:
|
Cast-On Type |
Best For |
Description |
|
Long-Tail Cast-On |
Most sweaters |
A stretchy, balanced edge, great for beginners |
|
Knitted Cast-On |
Beginners |
Easy to learn, creates a loose edge |
|
Tubular Cast-On |
Ribbed sweater edges |
Provides a polished, seamless look |
🎯 Pro Tip:
If knitting a ribbed sweater, use the Tubular Cast-On for a smooth, stretchy edge.
🔗 Recommended YouTube Video:
🎥 YouTube: "How to Cast On Knitting – Beginner Tutorial"
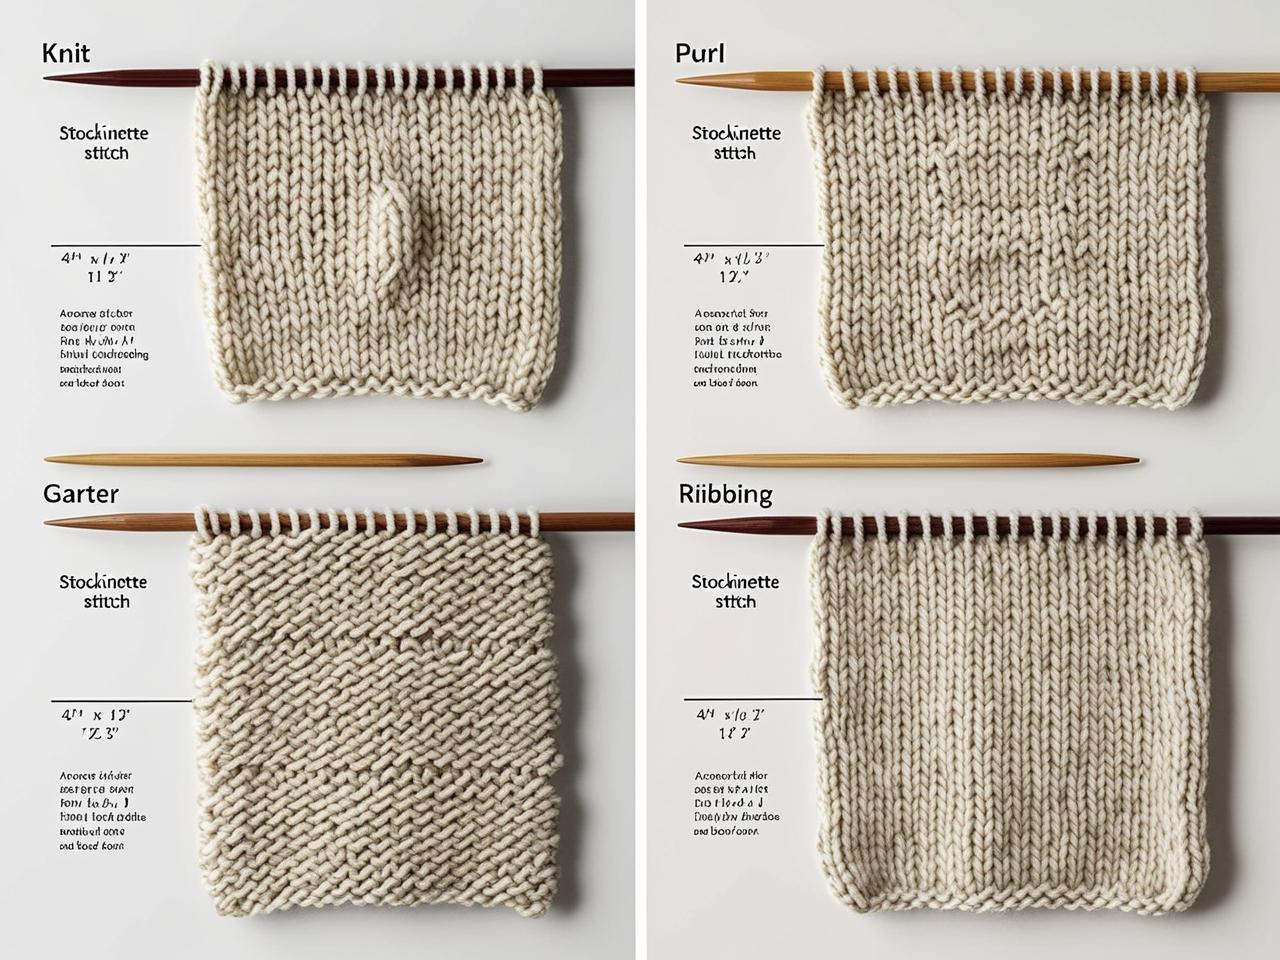
Knit Stitch vs. Purl Stitch (The Foundation of Sweater Knitting)
Mastering the knit and purl stitches is key to sweater knitting. These two stitches form the basis of most patterns, including stockinette stitch, ribbing, and garter stitch.
|
Stitch Type |
Texture & Look |
Best For |
|
Knit Stitch (K) |
Smooth fabric |
Stockinette, garter stitch |
|
Purl Stitch (P) |
Bumpy texture |
Ribbing, reverse stockinette |
|
Garter Stitch (K every row) |
Bumpy & stretchy |
Cozy, dense sweaters |
|
Stockinette Stitch (K one row, P one row) |
Flat on one side, bumpy on the other |
Classic sweater texture |
|
Ribbing (K1, P1 or K2, P2) |
Stretchy, elastic |
Cuffs, waistbands, necklines |
🎯 Pro Tip:
Ribbing (K2, P2) is ideal for sleeve cuffs and hems because it adds stretch and keeps its shape over time.
🔗 External Reference:
📰 Purl Soho: "Mastering Knit & Purl Stitches"
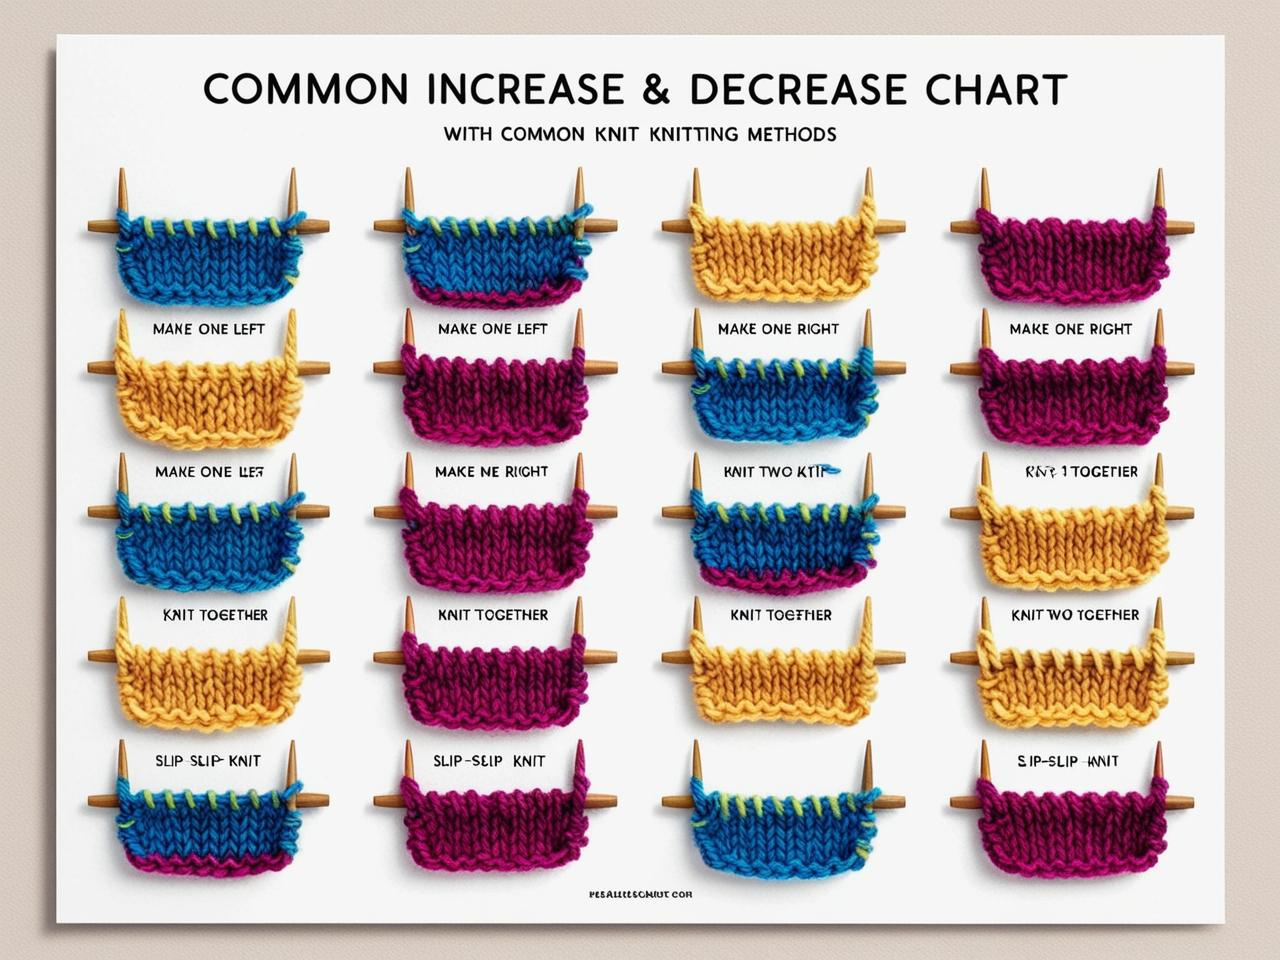
Increasing & Decreasing Stitches (Shaping the Sweater)
Sweater shaping requires increasing and decreasing stitches to adjust fit and form necklines, sleeves, and body shaping.
|
Technique |
Abbreviation |
Best For |
|
Knit Two Together |
K2tog |
Creates a right-leaning decrease |
|
Slip, Slip, Knit |
SSK |
Left-leaning decrease |
|
Make One Left |
M1L |
Adds a left-slanting increase |
|
Make One Right |
M1R |
Adds a right-slanting increase |
|
Yarn Over |
YO |
Creates an eyelet hole (used in lace knitting) |
🎯 Pro Tip:
When shaping a raglan sweater, use M1L and M1R increases for seamless shaping around the shoulders.
🔗 Recommended YouTube Video:
🎥 YouTube: "How to Increase & Decrease Stitches in Knitting"
Step-by-Step: How to Knit a Sweater
Now that you have the yarn, needles, and basic knitting skills, it's time to start knitting your sweater! Below is a detailed, step-by-step guide covering everything from casting on to finishing touches.
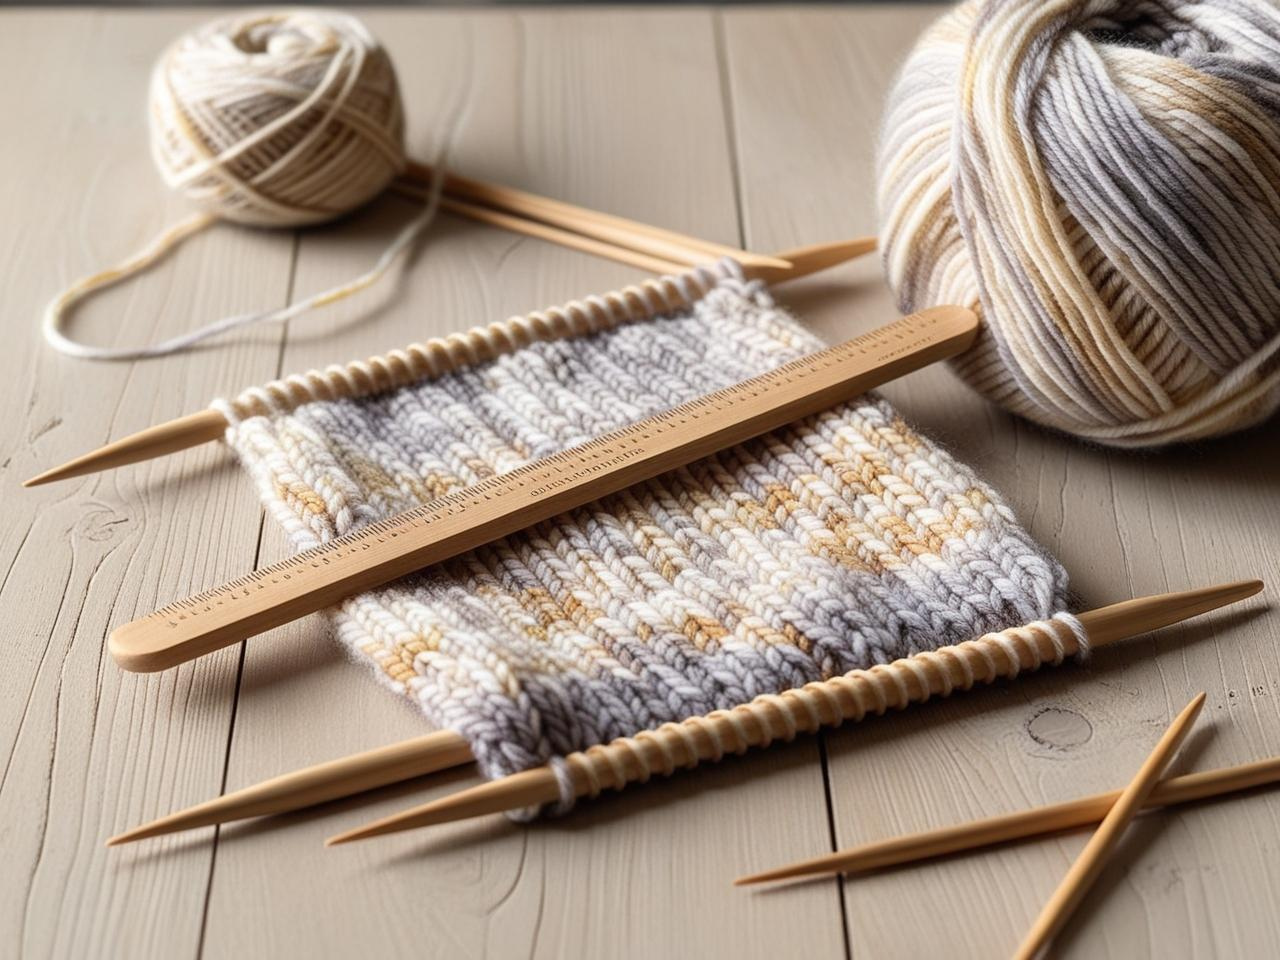
1. Knit a Gauge Swatch (Why It’s Essential)
Before knitting the sweater, you need to knit a gauge swatch to ensure the correct fit.
How to Knit a Gauge Swatch:
-
Cast on 30-40 stitches using the same yarn and needles you’ll use for the sweater.
-
Knit in stockinette stitch (knit one row, purl one row) for at least a 4x4 inch square.
-
Bind off and block the swatch (wet and dry it flat).
-
Measure the number of stitches and rows per inch.
🎯 Pro Tip:
If your gauge doesn’t match the pattern, change your needle size (larger for fewer stitches per inch, smaller for more stitches per inch).
🔗 Recommended YouTube Video:
🎥 YouTube: "How to Knit a Gauge Swatch for Sweaters"
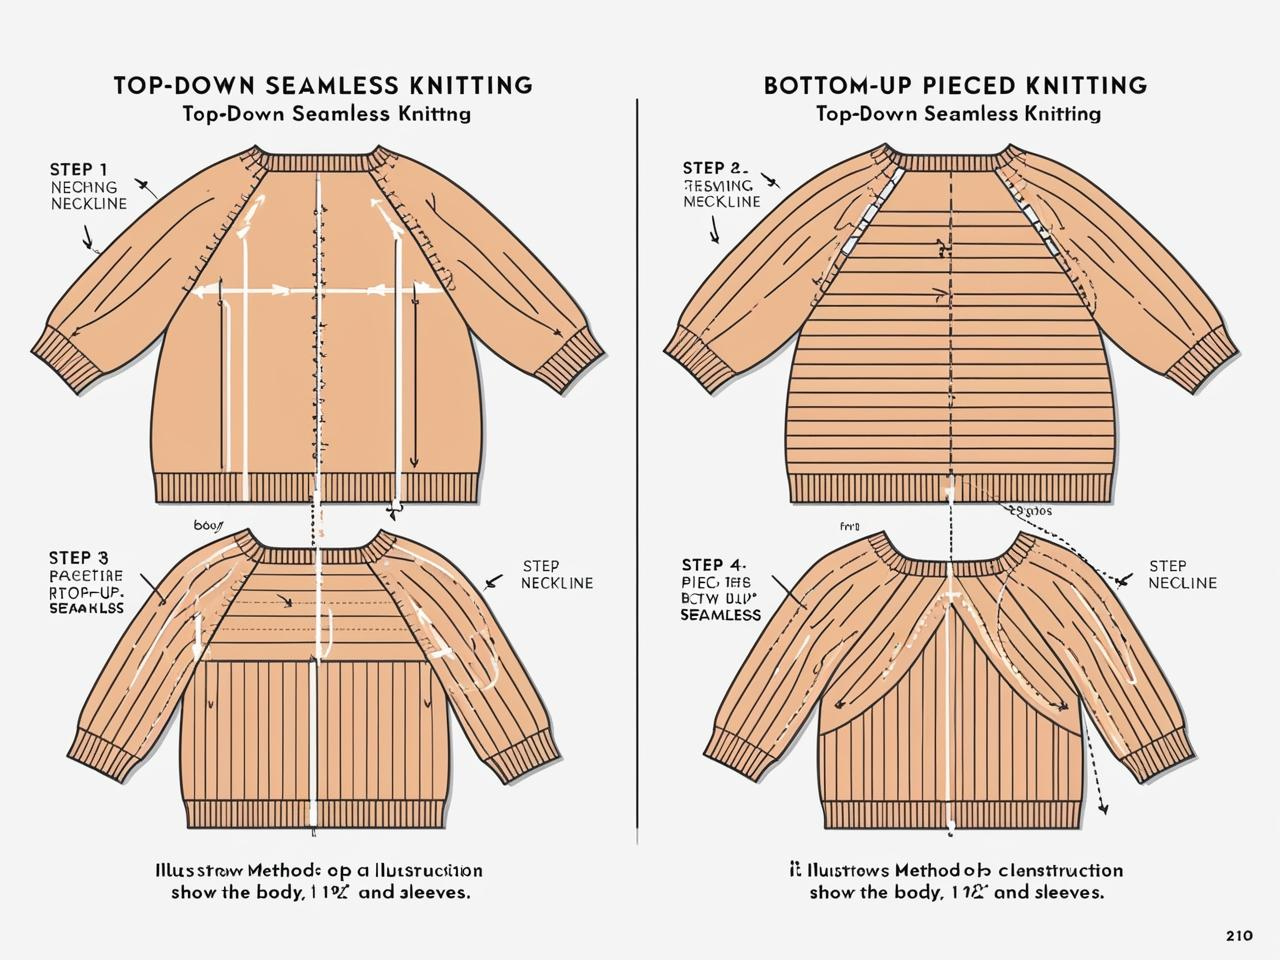
2. Knitting the Body (Top-Down vs. Bottom-Up)
Sweaters can be knit in two main ways:
-
Top-down (seamless) – Knit from the neckline down, allowing for easy length adjustments.
-
Bottom-up (seamed) – Knit in separate pieces (front, back, sleeves) and sewn together.
Top-Down Knitting (Best for Beginners)
-
Cast on stitches for the neckline using a circular needle.
-
Work in ribbing (K2, P2) for the collar (about 1-2 inches).
-
Begin increasing for raglan sleeves or yoke shaping.
-
Continue knitting down until reaching the desired body length.
Bottom-Up Knitting (More Structured Fit)
-
Cast on stitches for the hemline and knit the ribbed waistband.
-
Work the front and back separately, shaping the neckline and armholes.
-
Knit the sleeves separately, then seam the pieces together.
🎯 Pro Tip:
If you want a seamless look, choose top-down knitting. If you prefer a more structured fit, knit bottom-up with seams.
🔗 External Reference:
📰 KnitPicks: "Top-Down vs. Bottom-Up Sweater Knitting"
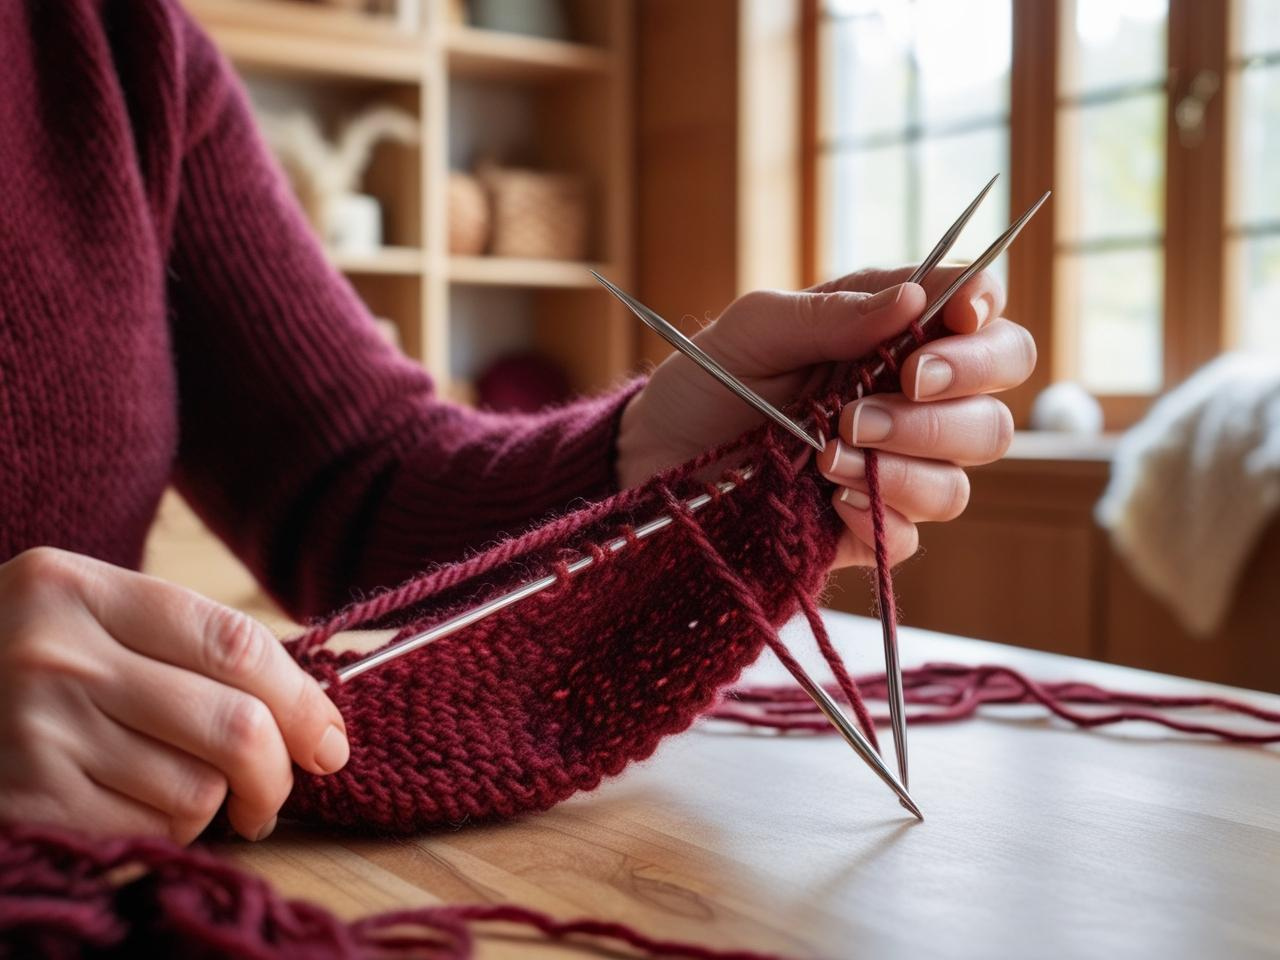
3. Knitting the Sleeves (In the Round vs. Flat)
Sleeves can be knitted flat (seamed later) or in the round (seamless).
Knitting Sleeves in the Round (Recommended for Beginners)
-
Pick up stitches around the armhole using double-pointed needles (DPNs) or circular needles.
-
Work decreases every few inches to taper the sleeve.
-
Finish with ribbing for the cuff, then bind off.
Knitting Sleeves Flat (For Structured Fit)
-
Cast on the required stitches separately.
-
Work in stockinette stitch, shaping with increases or decreases.
-
Seam the sleeves to the sweater body.
🎯 Pro Tip:
Knitting sleeves in the round eliminates seams, making them look more polished.
🔗 Recommended YouTube Video:
🎥 YouTube: "How to Knit Sleeves in the Round"
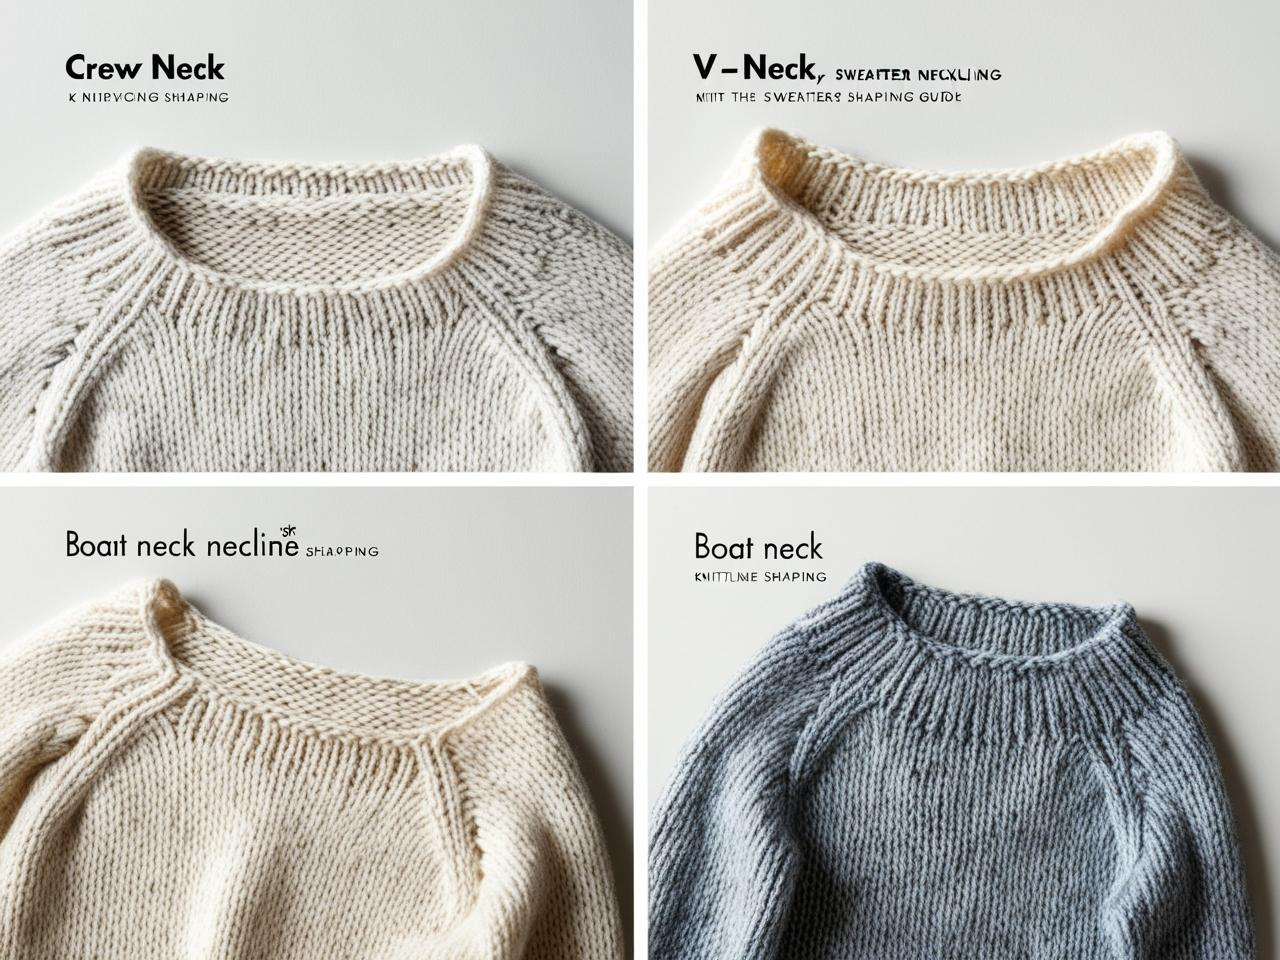
4. Shaping the Neckline & Shoulder Seams
The neckline and shoulders give the sweater its final structured look.
-
Crew Neck: Work gradual decreases for a round neckline.
-
V-Neck: Decrease stitches at the center to form the V-shape.
-
Boat Neck: Knit straight across without shaping.
🎯 Pro Tip:
Use short rows to shape a well-fitted neckline instead of abrupt decreases.
🔗 External Reference:
📰 Purl Soho: "How to Shape a Sweater Neckline"
5. Binding Off & Seaming the Sweater Together
Once the body and sleeves are finished, you’ll bind off and seam the sweater together (if knitting flat).
-
Use the Mattress Stitch for nearly invisible seams.
-
Bind off loosely to prevent tight edges.
-
Block the pieces before seaming to make assembling easier.
🎯 Pro Tip:
If knitting top-down seamlessly, simply weave in ends instead of sewing seams.
🔗 Recommended YouTube Video:
🎥 YouTube: "How to Seam a Knitted Sweater with Mattress Stitch"

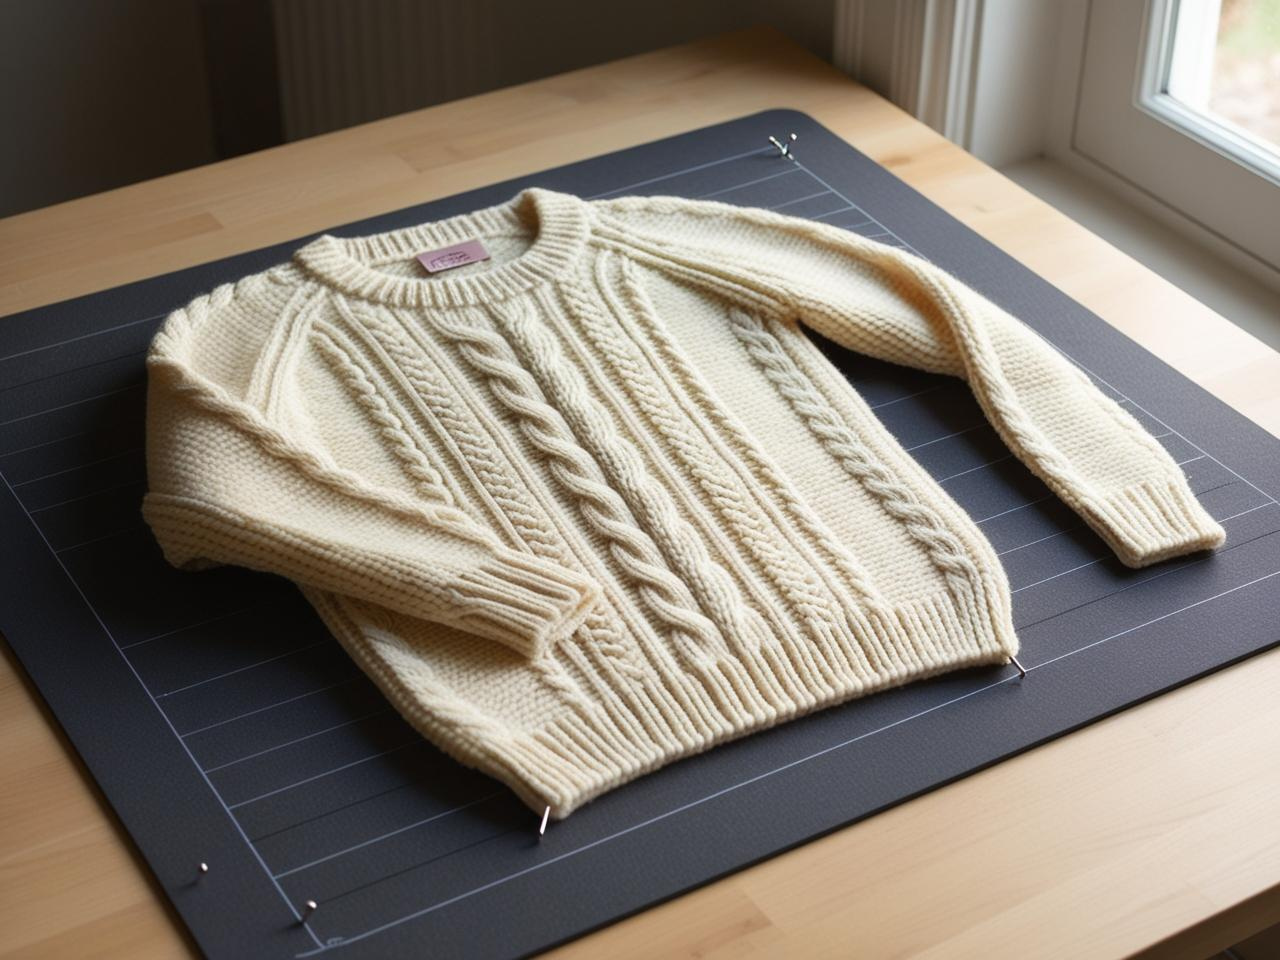
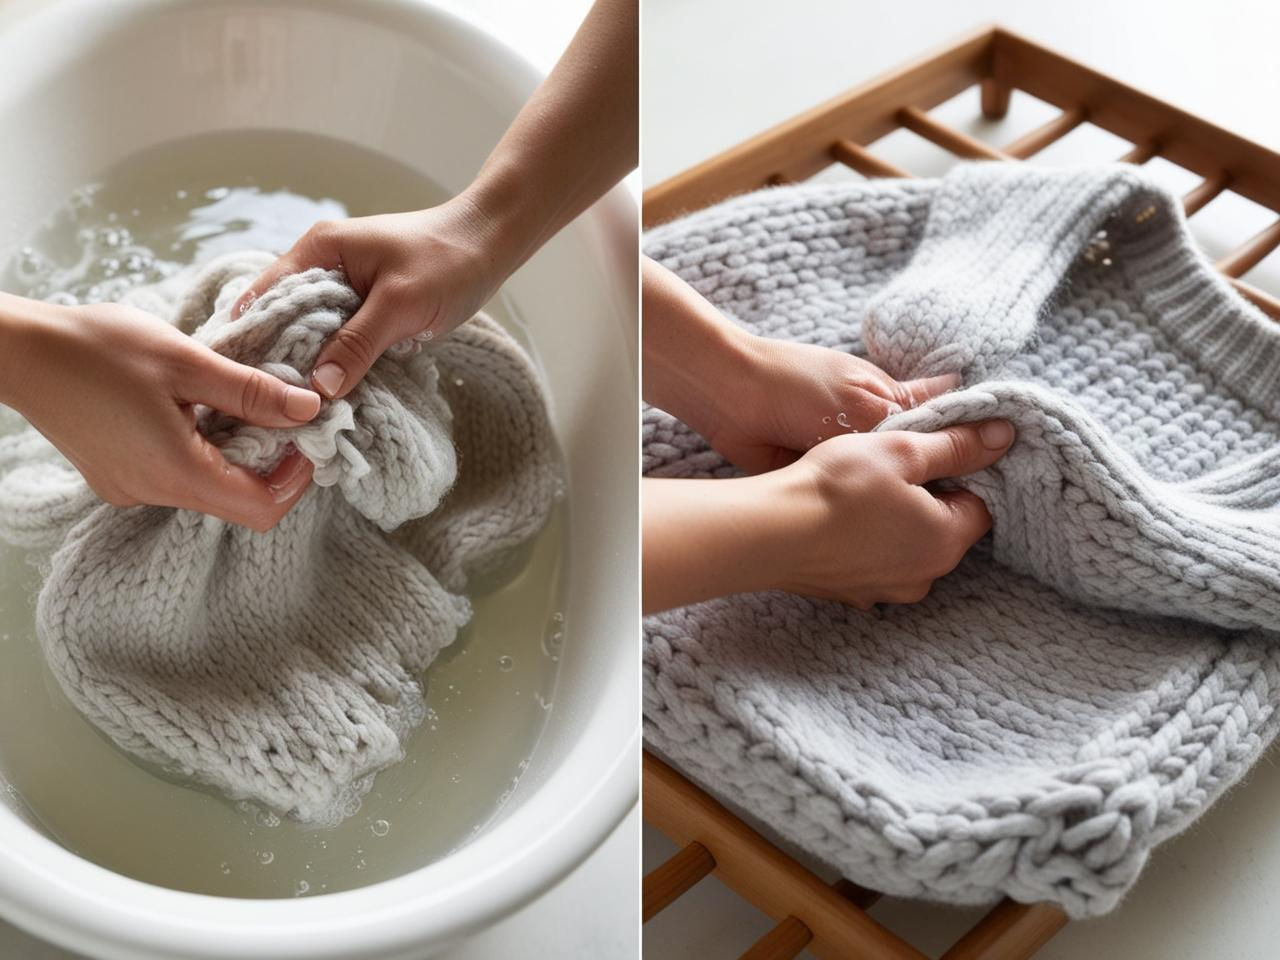
6. Blocking the Sweater for a Professional Finish
Blocking is the final step to make your sweater look polished and even.
How to Block a Sweater:
-
Soak the sweater in lukewarm water with wool wash.
-
Gently squeeze out excess water and lay it flat on a blocking mat.
-
Pin it to the correct dimensions and let it dry naturally.
🎯 Pro Tip:
Blocking evens out stitches, softens fabric, and prevents curling at the edges.
🔗 External Reference:
📰 KnitPicks: "Blocking Knits 101"
Common Knitting Mistakes & How to Fix Them
Even experienced knitters make mistakes, but knowing how to identify and fix errors will improve the final look of your sweater. Below are the most common knitting problems and how to correct them.
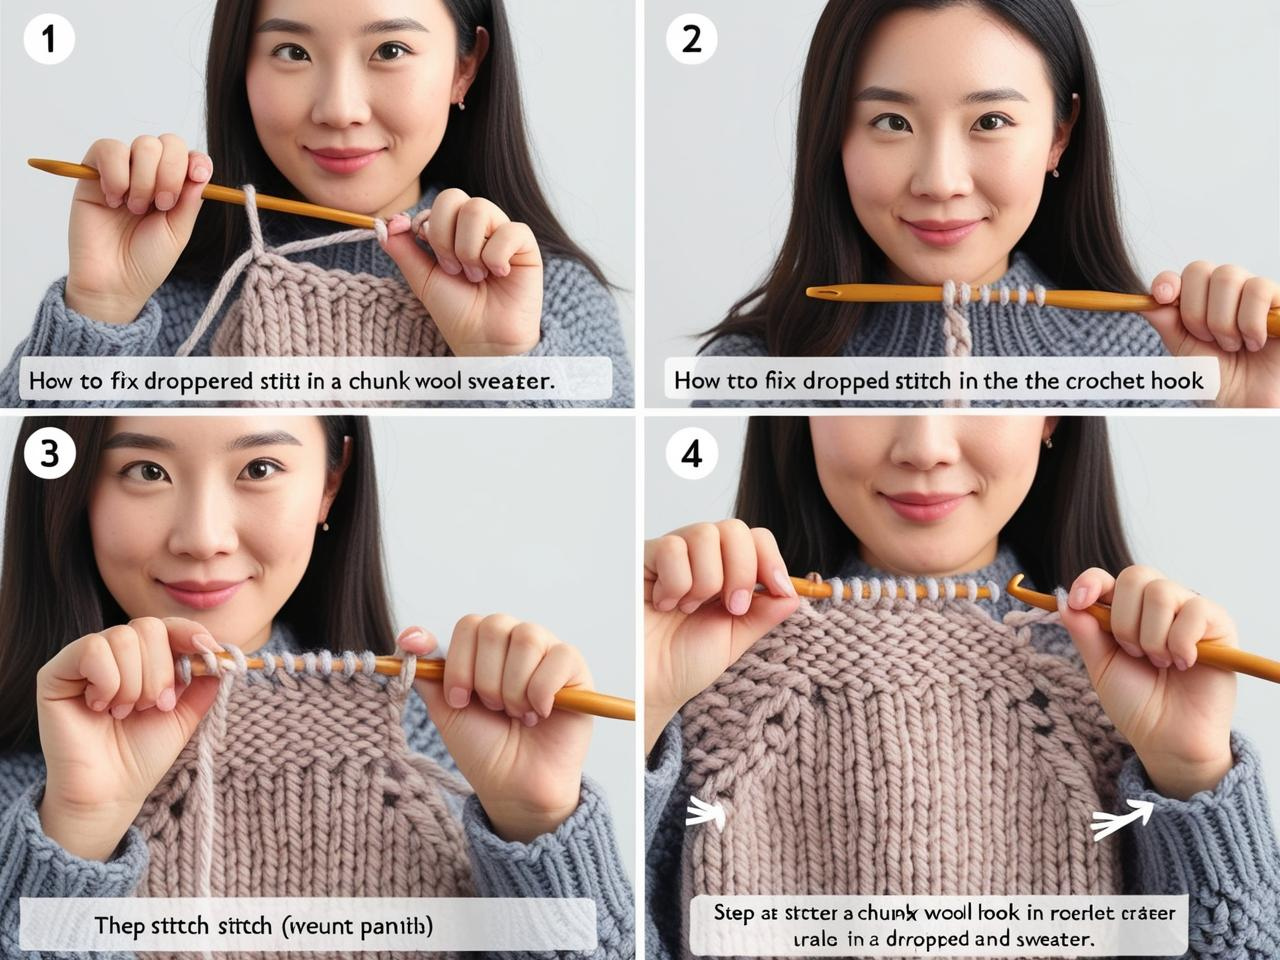
1. Dropped Stitches (How to Pick Them Up)
A dropped stitch can create a visible hole in your fabric, but it’s easy to fix if caught early.
How to Fix a Dropped Stitch:
-
Insert a crochet hook into the dropped stitch.
-
Pull the stitch through the laddered row above until it reaches the working row.
-
Place the stitch back on the needle and continue knitting.
🎯 Pro Tip:
If a dropped stitch goes unnoticed for several rows, secure it with a small piece of matching yarn and weave it into the fabric instead of unraveling your work.
🔗 Recommended YouTube Video:
🎥 YouTube: "How to Fix a Dropped Stitch"
2. Uneven Tension (Too Tight or Too Loose Stitches)
Inconsistent tension can make parts of your sweater too tight or too loose, affecting the fit.
How to Fix Uneven Tension:
-
If stitches are too tight → Use larger needles or relax your grip while knitting.
-
If stitches are too loose → Switch to smaller needles or maintain consistent yarn tension.
-
If tension is uneven across rows → Try blocking the sweater to even out the stitches.
🎯 Pro Tip:
Knitting a practice swatch before starting your sweater helps you adjust your tension before committing to the full project.
🔗 External Reference:
📰 Purl Soho: "How to Fix Uneven Tension in Knitting"

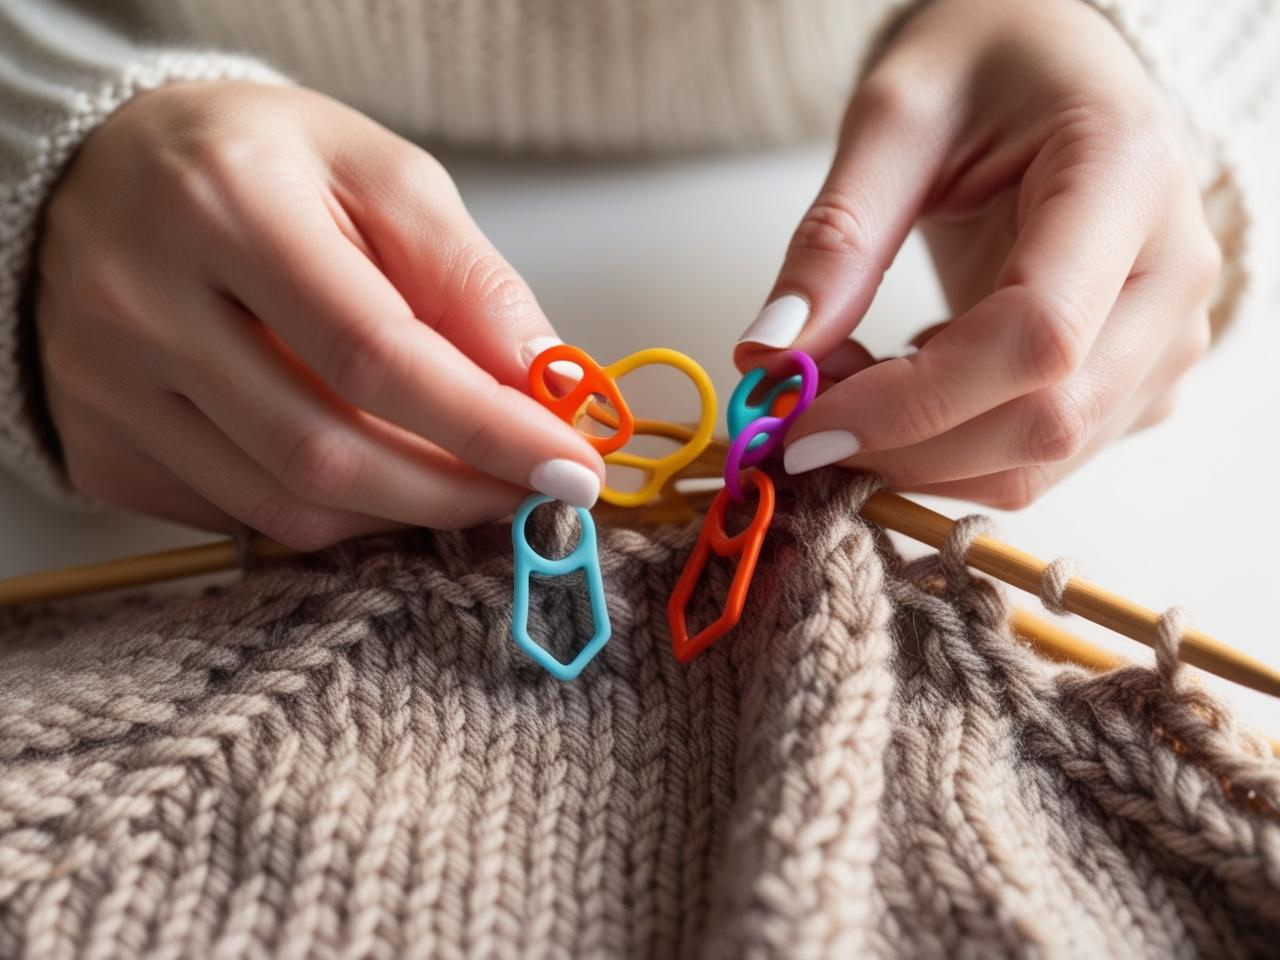
3. Miscounting Stitches (Accidental Increases or Decreases)
Adding or losing stitches by accident can distort the sweater’s shape.
How to Avoid Miscounting Stitches:
-
Use stitch markers to track pattern sections.
-
Count stitches every few rows to catch errors early.
-
Check for accidental yarn overs (YOs) that can create extra stitches.
🎯 Pro Tip:
If you find extra stitches, undo that row using the "tinking" method (unknitting one stitch at a time instead of unraveling the entire row).
🔗 Recommended YouTube Video:
🎥 YouTube: "How to Fix Incorrect Stitch Count in Knitting"
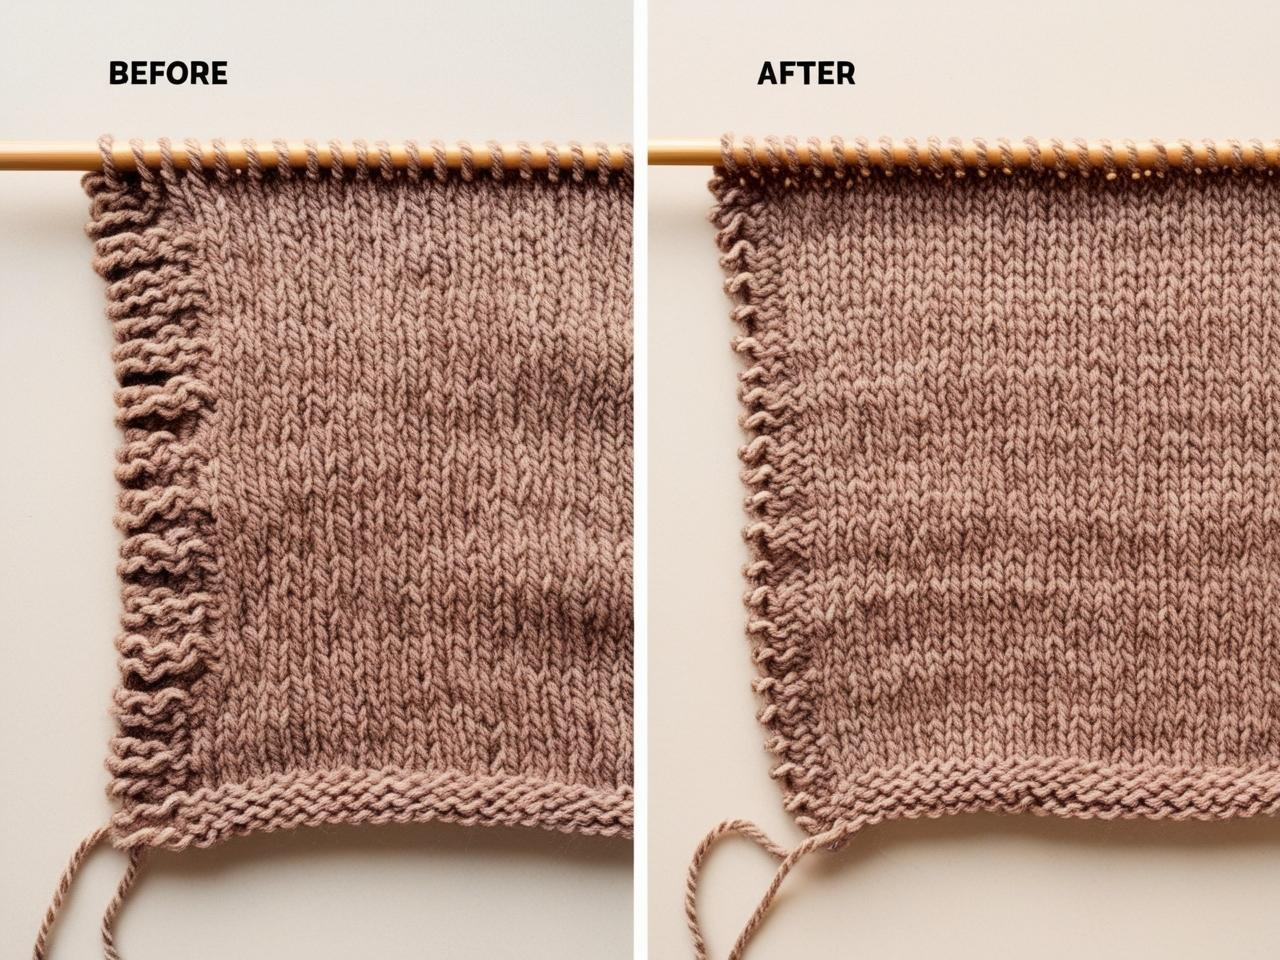
4. Curling Edges in Stockinette Stitch
Stockinette fabric naturally curls at the edges, making the sweater’s hems and cuffs roll up.
How to Prevent Curling:
-
Add a border of garter stitch or ribbing at the edges.
-
Block the finished sweater to relax the fabric.
-
Use a looser cast-on and bind-off to maintain an even edge.
🎯 Pro Tip:
For a flat, non-curling hem, knit at least 5 rows of garter stitch before switching to stockinette.
🔗 External Reference:
📰 KnitPicks: "How to Fix Curling in Stockinette Stitch"
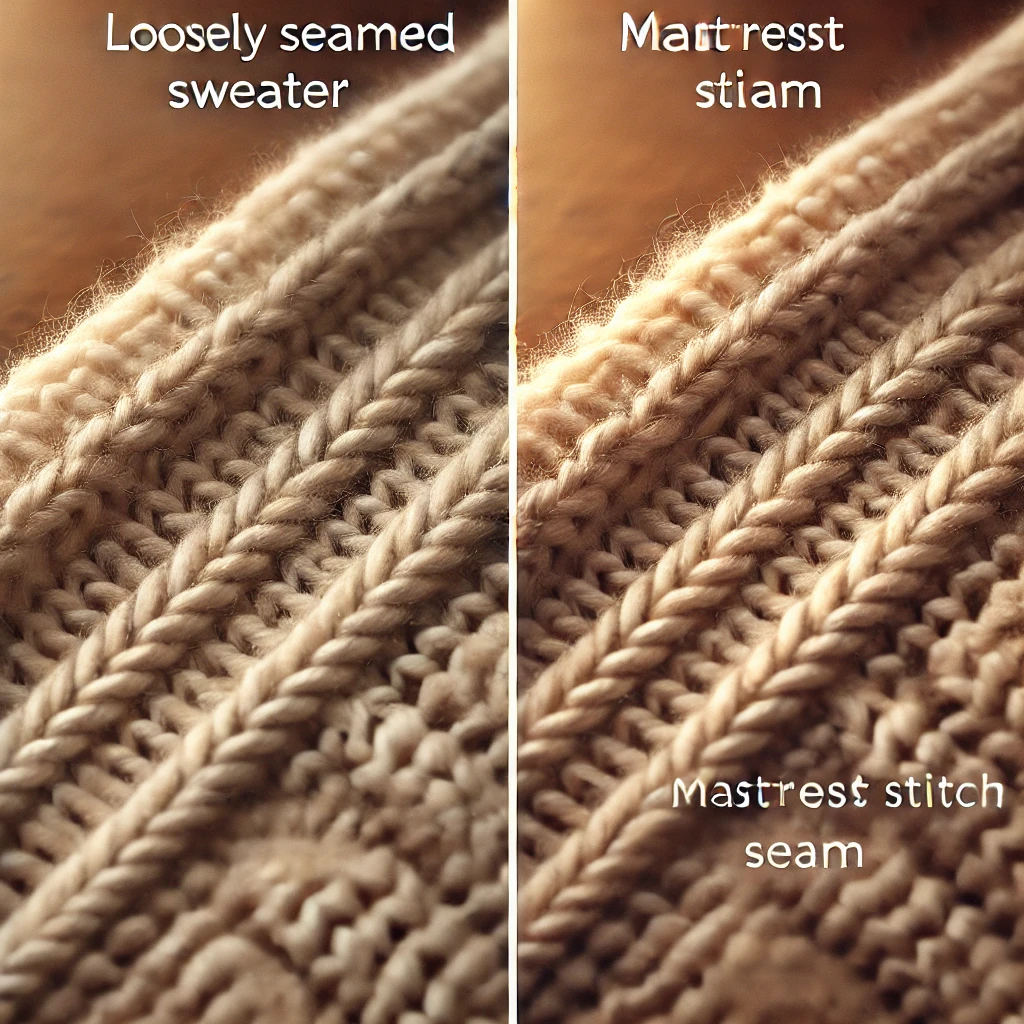
5. Loose or Gaping Seams (Fixing Weak Joins)
If the seams on your sweater look loose or uneven, it can affect the overall structure of the garment.
How to Fix Loose Seams:
-
Use the mattress stitch for invisible, seamless joins.
-
Ensure even tension when seaming to avoid gaps.
-
Reinforce weak seams by weaving in extra yarn using a darning needle.
🎯 Pro Tip:
If you want completely seamless sweaters, choose top-down knitting in the round instead of seamed pieces.
🔗 Recommended YouTube Video:
🎥 YouTube: "How to Seam Knits with Mattress Stitch"
How to Customize Your Sweater
Once you've mastered the basics of sweater knitting, you can start adding custom details to make your sweater unique and stylish. Below are some easy ways to personalize your sweater using textures, colorwork, and shaping techniques.
1. Adding Ribbing or Cables for Texture
Textured stitches like ribbing and cables can transform a simple sweater into a structured, detailed piece.
Best Textured Knitting Techniques:
|
Texture Type |
Look & Feel |
Best Used For |
|
Ribbing (K2, P2) |
Stretchy, elastic texture |
Waistbands, cuffs, necklines |
|
Cable Knitting |
Twisted, rope-like patterns |
Classic, structured sweaters |
|
Seed Stitch |
Bumpy, soft texture |
Cozy, textured sweaters |
|
Basketweave Stitch |
Interlocking woven effect |
Chunky, statement knits |
🎯 Pro Tip:
If adding cables, use a cable needle to hold stitches and create intricate designs.
🔗 Recommended YouTube Video:
🎥 YouTube: "How to Knit Cables for Beginners"
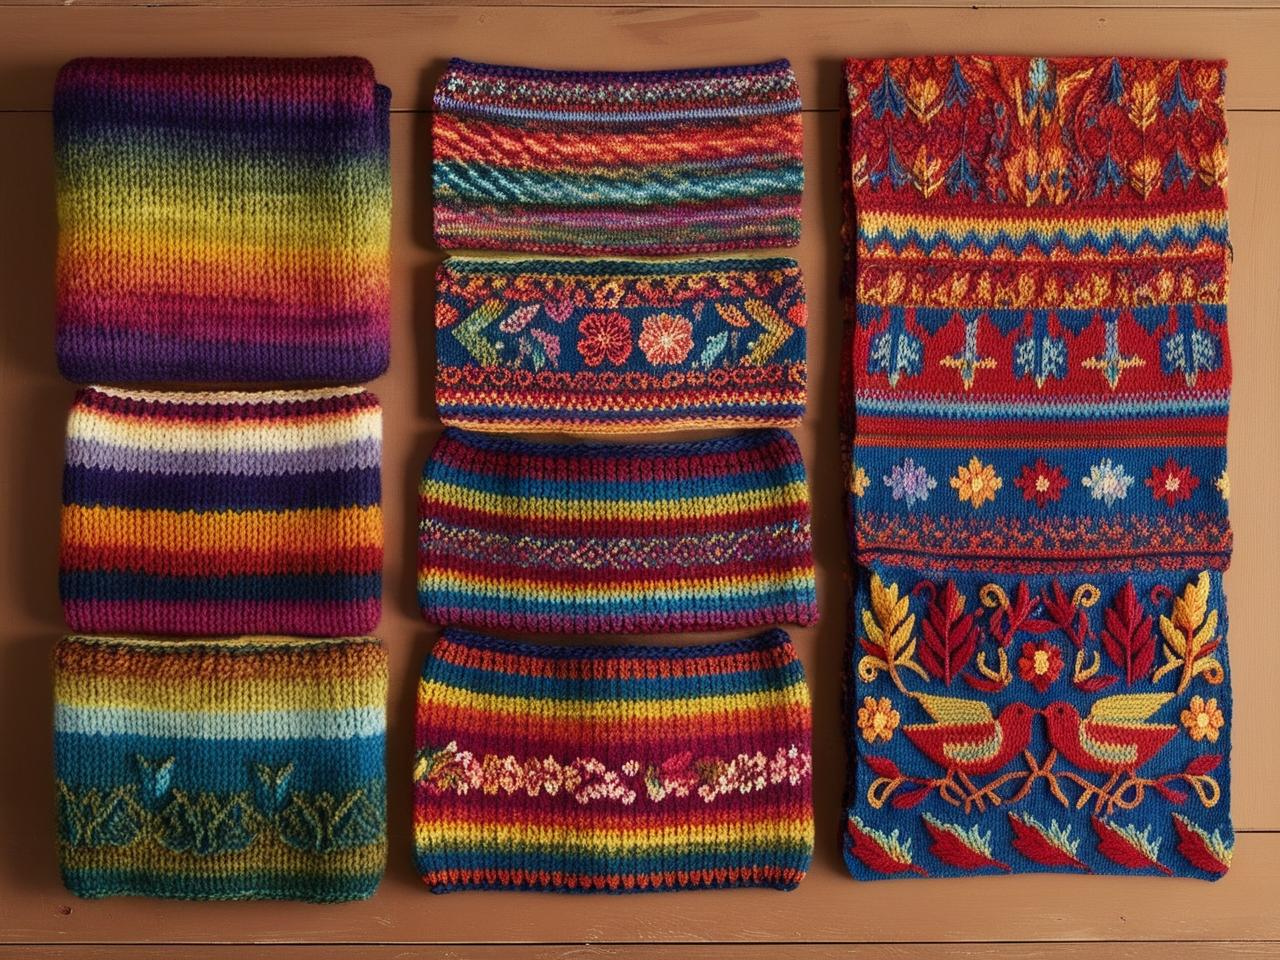
2. Customizing with Colorwork: Stripes, Fair Isle, and Intarsia
Using multiple colors in your knitting can make your sweater eye-catching and unique.
Popular Colorwork Techniques:
|
Technique |
Description |
Best For |
|
Stripes |
Alternating colors for a modern look |
Bold, casual sweaters |
|
Fair Isle |
Traditional Scandinavian multi-color knitting |
Classic winter patterns |
|
Intarsia |
Blocks of color without floats on the back |
Large graphic designs |
🎯 Pro Tip:
For a beginner-friendly colorwork project, try striped sleeves or color-blocked panels instead of full-pattern Fair Isle knitting.
🔗 External Reference:
📰 KnitPicks: "Introduction to Colorwork Knitting"
3. Modifying the Sweater Fit: Cropped, Oversized, or Fitted
Knitting your own sweater allows you to adjust the length and fit to match your personal style.
How to Modify Your Sweater Fit:
|
Style |
How to Adjust It |
Best For |
|
Cropped Fit |
Knit fewer body rows |
Trendy, layering pieces |
|
Oversized Fit |
Use larger needles & more stitches |
Cozy, relaxed sweaters |
|
Fitted Look |
Decrease stitches for shaping |
Tailored, elegant designs |
🎯 Pro Tip:
For a customized fit, measure a favorite sweater and match those dimensions while knitting.
🔗 Recommended YouTube Video:
🎥 YouTube: "How to Adjust the Fit of a Knitted Sweater"

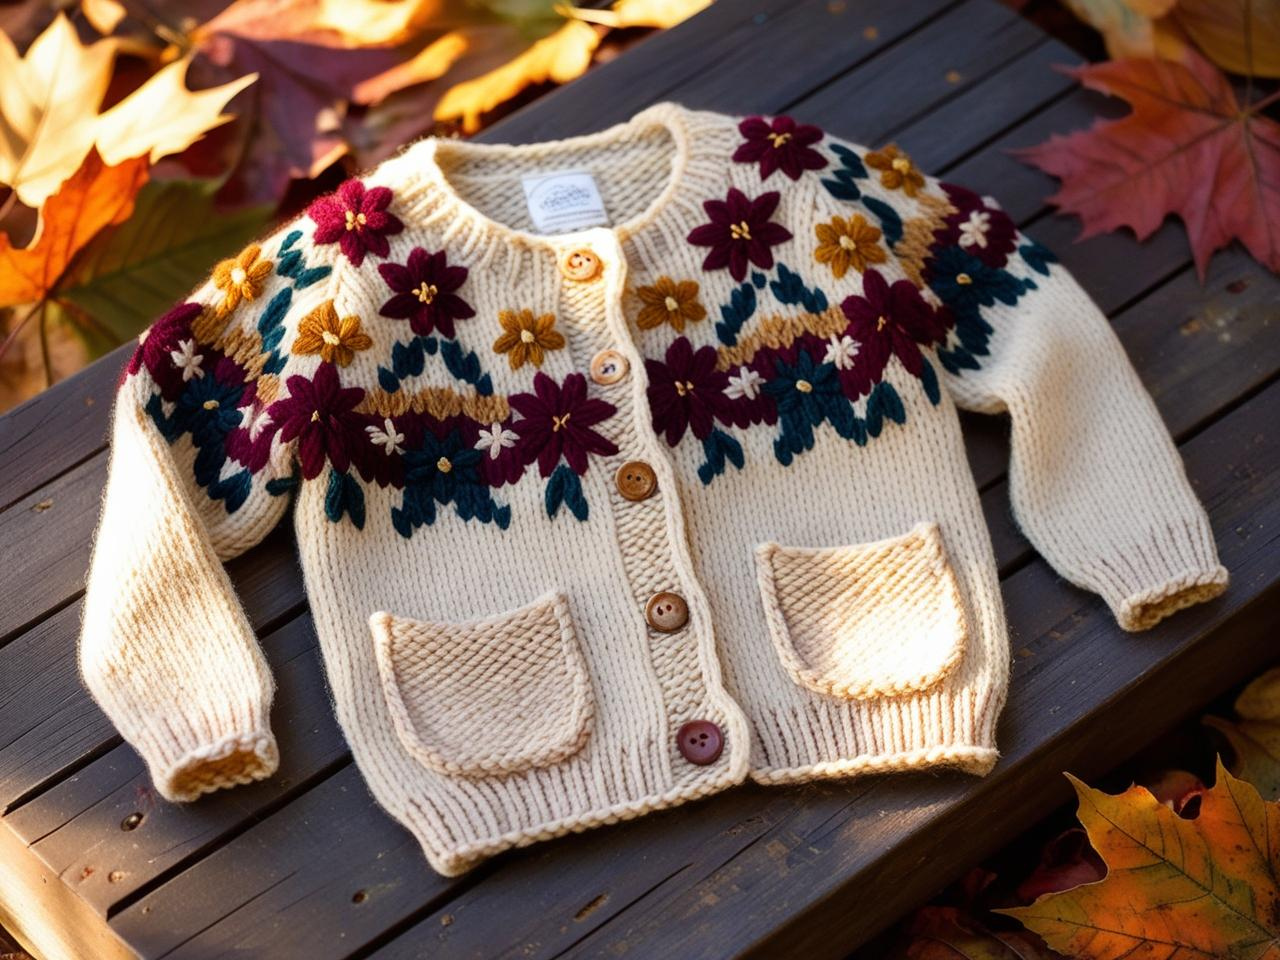
4. Adding Unique Embellishments: Buttons, Embroidery, and Pockets
Small details like buttons, embroidery, or pockets can elevate your sweater and make it look professional.
Embellishment Ideas:
-
Buttons – Add to the front or shoulders for a cardigan effect.
-
Embroidery – Stitch patterns, monograms, or floral designs on the sweater.
-
Pockets – Knit patch pockets for added functionality.
🎯 Pro Tip:
Use contrasting buttons or hand-stitched embroidery for a handmade, artisanal look.
🔗 External Reference:
📰 Purl Soho: "How to Embroider on Knitted Fabric"
FAQs: Answering Common Knitting Questions
Below are answers to some of the most frequently asked questions about knitting a sweater.
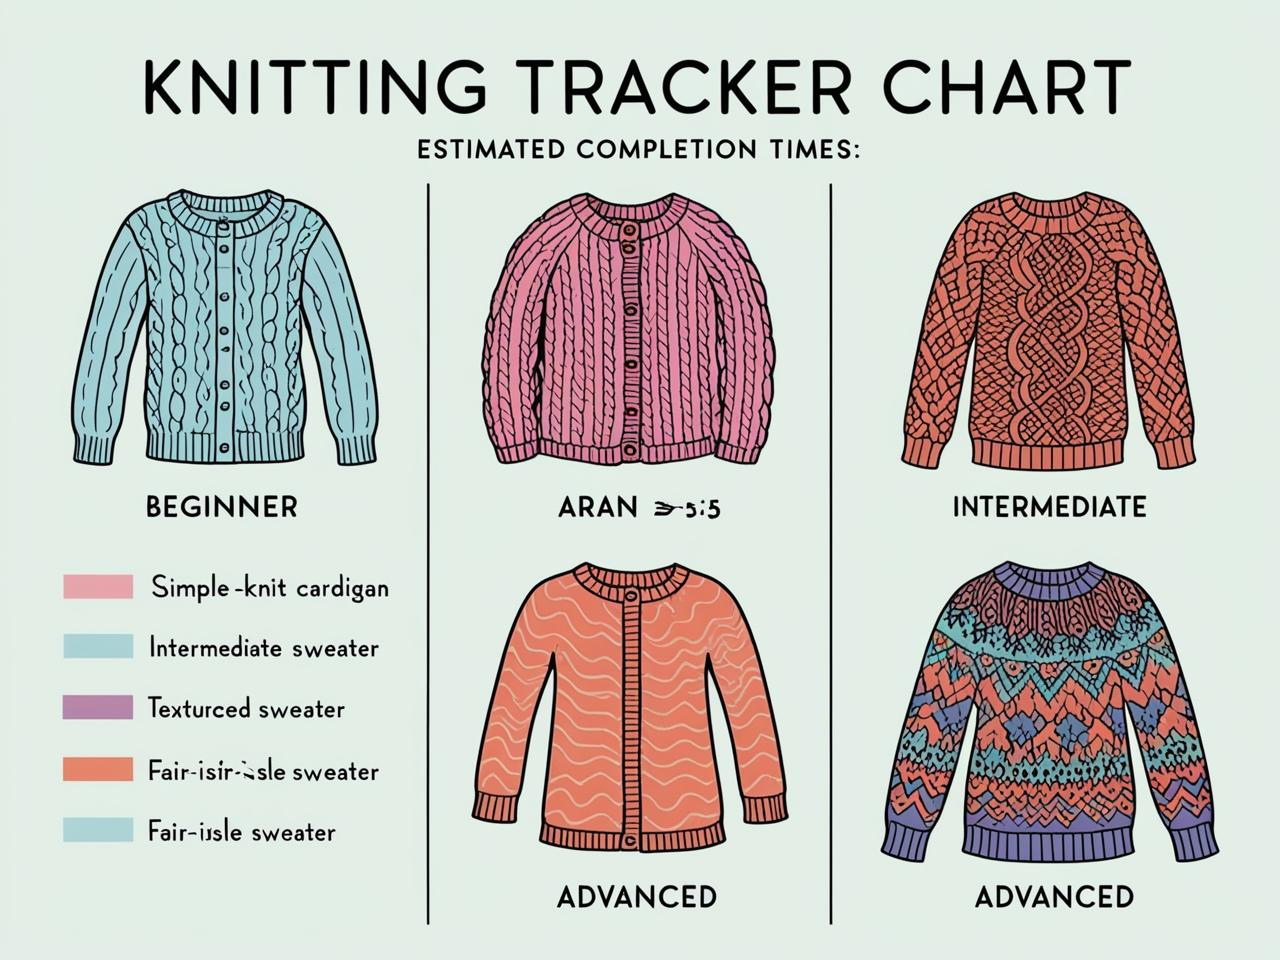
1. How long does it take to knit a sweater?
The time required depends on:
-
Skill level – Beginners may take longer to develop a steady rhythm.
-
Sweater complexity – A simple stockinette pullover knits faster than an intricate cabled design.
-
Knitting speed – Some knitters work faster than others.
General Time Estimates:
-
Beginner sweaters – 2 to 4 weeks with consistent knitting.
-
Intermediate designs – 4 to 6 weeks, depending on pattern complexity.
-
Advanced patterns – 6+ weeks, especially with intricate stitch work.
🎯 Pro Tip:
To speed up sweater knitting, set a goal of completing a section per week (e.g., body one week, sleeves the next).
🔗 Recommended YouTube Video:
🎥 YouTube: "How Long Does It Take to Knit a Sweater?"
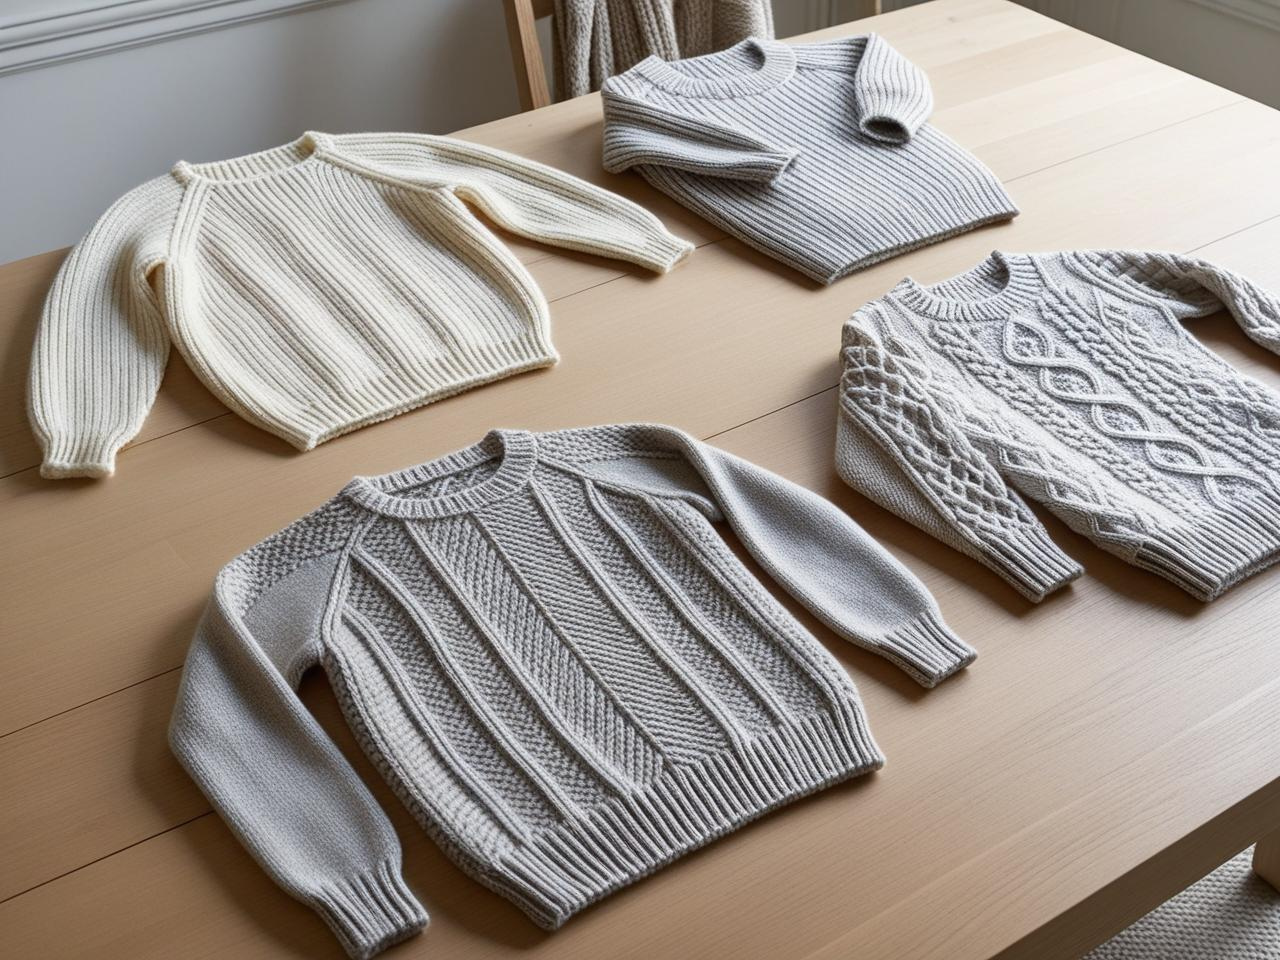
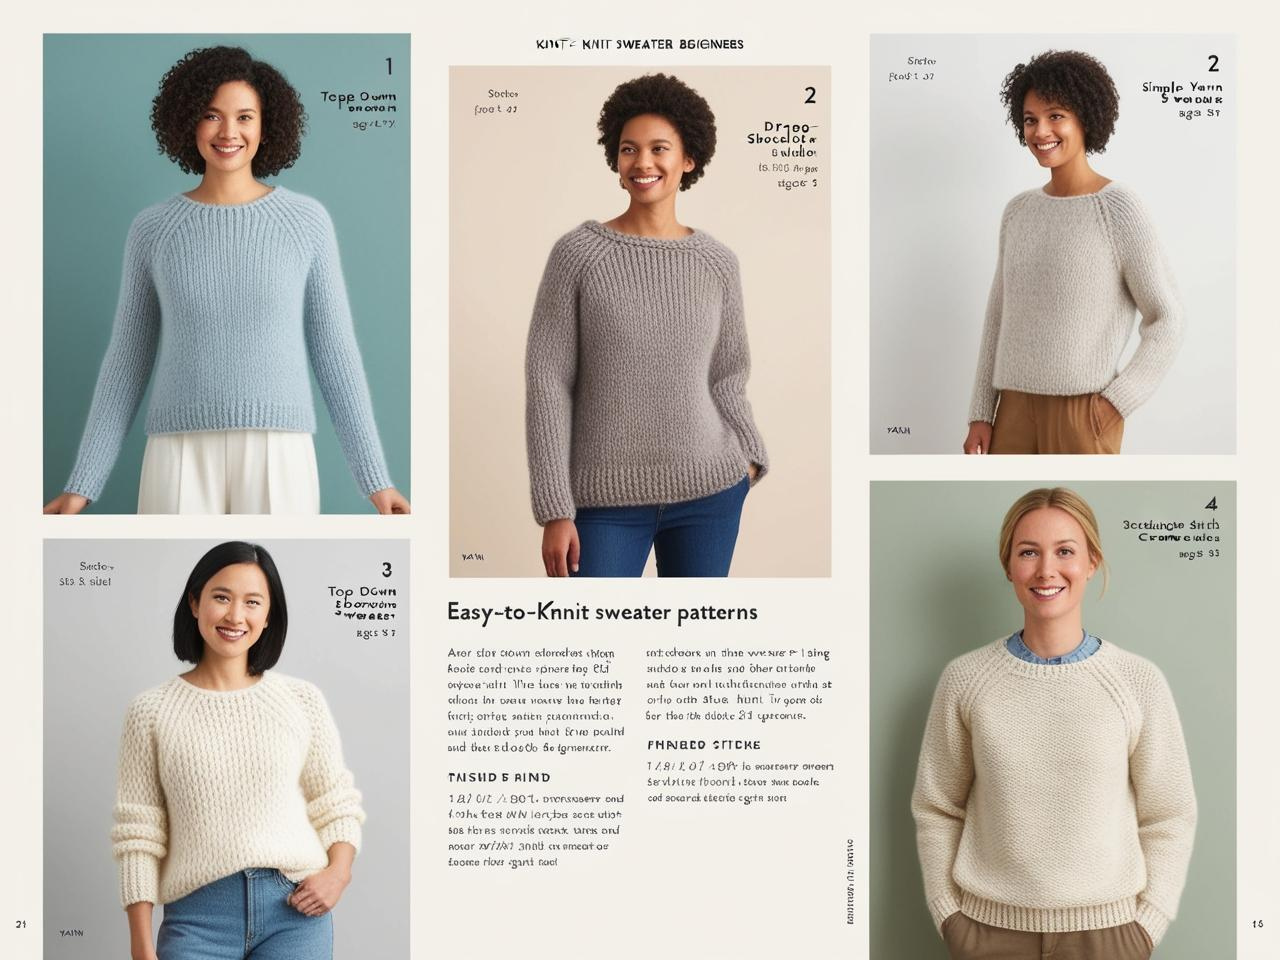
2. What is the easiest sweater pattern for beginners?
For first-time sweater knitters, choose a simple, seamless pullover with minimal shaping.
Beginner-Friendly Sweater Patterns:
-
Top-Down Raglan Sweater – No seams, worked in one piece.
-
Boxy Drop-Shoulder Sweater – Straight panels, minimal shaping.
-
Basic Stockinette Stitch Pullover – Simple stitches, easy to follow.
🎯 Pro Tip:
Avoid intricate cable patterns, lace stitches, or complex shaping on your first sweater.
🔗 External Reference:
📰 KnitPicks: "Best Sweater Patterns for Beginners"
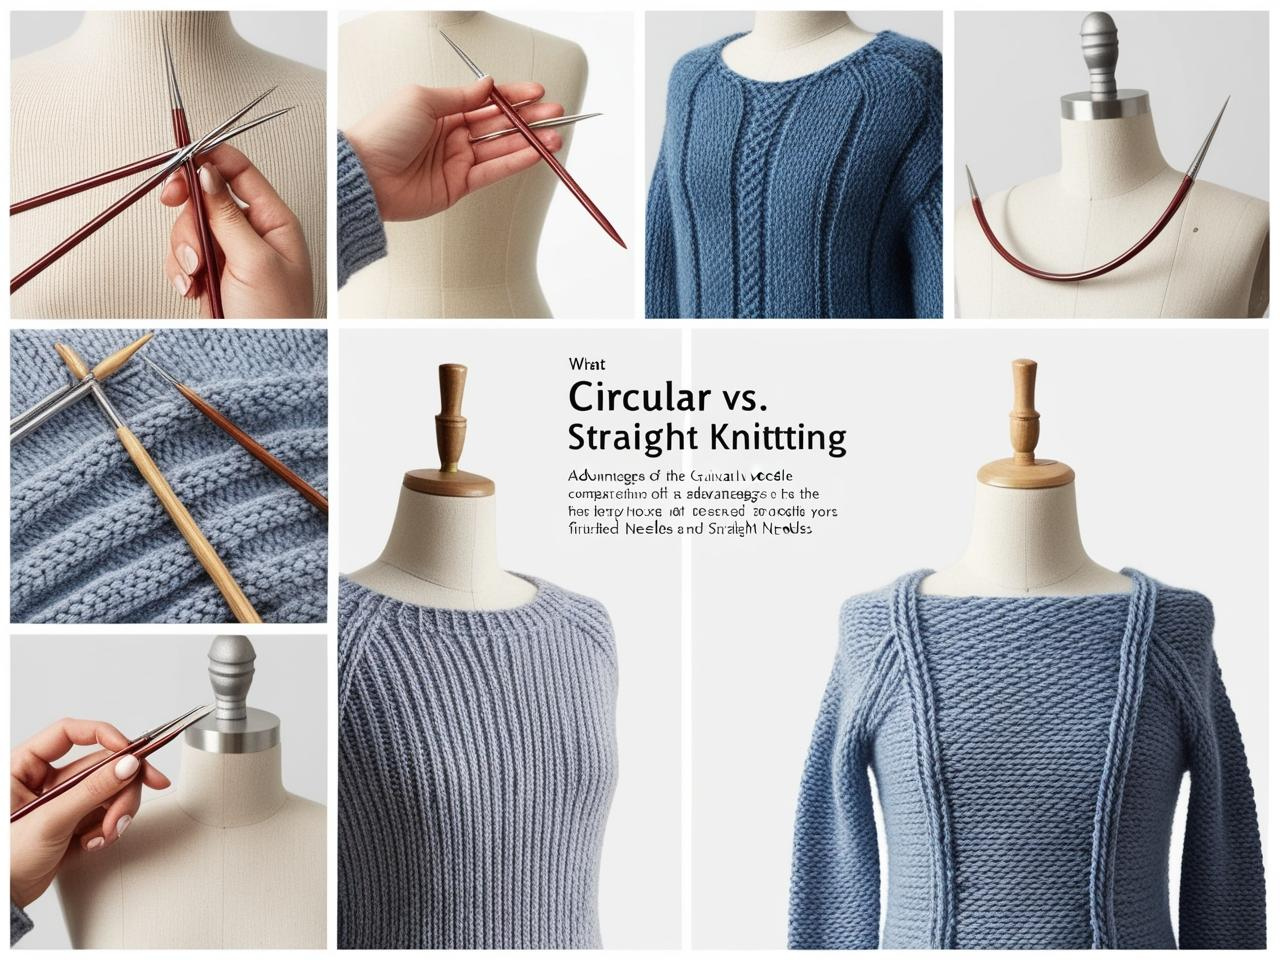
3. Should I use circular needles or straight needles?
This depends on the type of sweater construction you choose.
|
Needle Type |
Best For |
Why? |
|
Circular Needles |
Seamless sweaters, knitting in the round |
Reduces wrist strain, holds large projects |
|
Straight Needles |
Knitting flat panels |
Best for sweaters with seams |
🎯 Pro Tip:
Most modern sweater patterns recommend circular needles because they allow for both flat and seamless knitting.
🔗 Recommended YouTube Video:
🎥 YouTube: "Circular vs. Straight Needles: Which One Should You Use?"
4. How do I wash and care for a knitted sweater?
Proper sweater care ensures longevity and prevents stretching or felting.
How to Wash a Knitted Sweater:
-
Check the yarn label for washing instructions.
-
Hand wash in cold water using mild wool detergent.
-
Gently squeeze out excess water (do not wring).
-
Lay flat to dry on a towel, reshaping as needed.
🎯 Pro Tip:
To maintain sweater shape, avoid hanging your sweater to dry, as this can stretch the fabric.
🔗 External Reference:
📰 Purl Soho: "How to Wash and Block Hand-Knitted Garments"
5. How can I make my sweater fit perfectly?
To ensure a well-fitted sweater, follow these steps:
-
Knit a gauge swatch to check stitch size.
-
Measure your bust, arms, and torso before starting.
-
Modify the pattern (add or remove stitches) to customize sizing.
-
Try on your sweater as you knit (especially for top-down designs).
🎯 Pro Tip:
If knitting a fitted sweater, choose negative ease (slightly smaller measurements) for a snug fit.
🔗 Recommended YouTube Video:
🎥 YouTube: "How to Adjust a Knitting Pattern for the Perfect Fit"
Conclusion: Your First Sweater is Just the Beginning!
Congratulations! You now have all the knowledge needed to knit your first sweater from start to finish. Whether you’re following a beginner-friendly pattern or customizing your own design, every sweater you knit will improve your skills.
Final Tips for Success:
-
Start with simple patterns before progressing to advanced designs.
-
Choose quality yarn that feels good on your skin.
-
Take breaks while knitting to avoid hand fatigue.
-
Don’t be afraid to experiment with colors and textures!
Knitting your own sweater is a rewarding experience, and each stitch is part of your journey as a knitter. Keep practicing, and soon you'll be creating handmade garments you'll love to wear!
📢 Have questions or want to share your progress? Drop a comment below! 🚀