Beginner Sweater Knitting Pattern: A First-Sweater Blueprint That Actually Fits
Knitting your first sweater is less about finding a “perfect” beginner sweater knitting pattern and more about choosing a pattern that matches your skills and following a fit workflow you can repeat: swatch → choose size & ease → knit with checkpoints → fix problems early.
This guide is pattern-agnostic (you can use it with almost any beginner-friendly sweater pattern) and it’s built to help you end up with a sweater you’ll actually wear—not a “learning experience” that lives in your closet.
What makes a sweater pattern truly beginner-friendly?
A sweater pattern is genuinely beginner-friendly when it:
- Uses simple shaping (often raglan or drop-shoulder; not always, but commonly easier to manage).
- Introduces few new techniques at once (you’re not learning five things on Row 1).
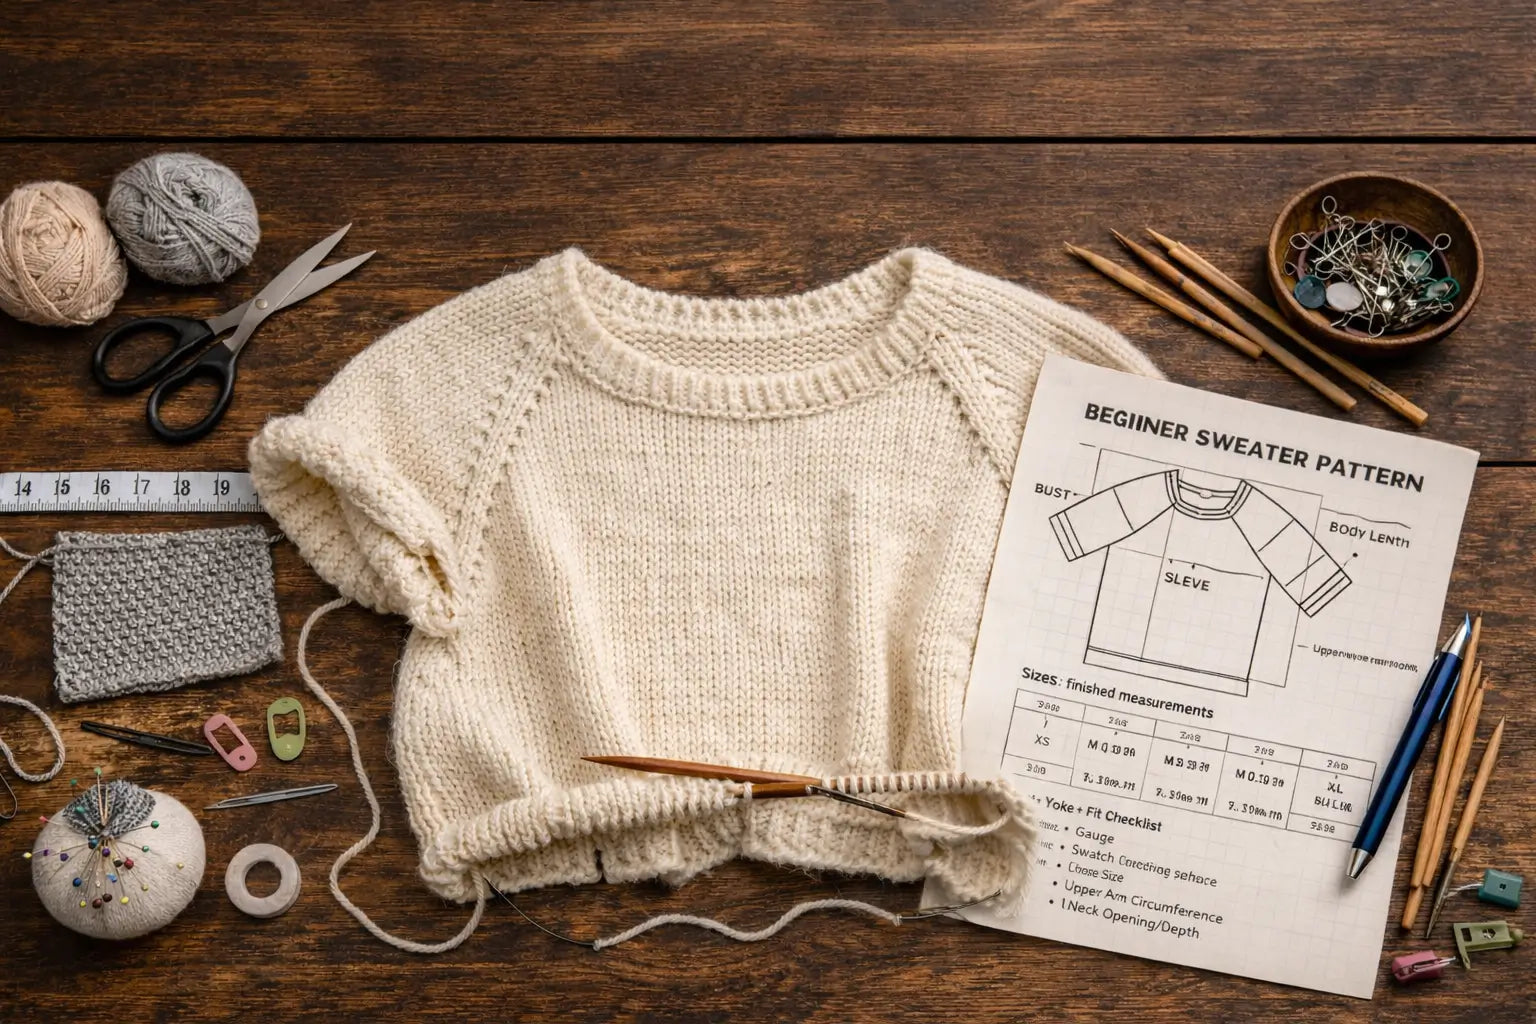
- Gives clear sizing info: finished measurements (not just S/M/L) and ideally a schematic/diagram.
- States gauge clearly and doesn’t bury key measurements.
- Has support: step photos, video help, or extra explanation where beginners usually get stuck.
- Has predictable finishing (or explains finishing steps clearly), so you’re not surprised at the end.
- Helps you sanity-check fit with checkpoints (or it’s easy to try on as you go).
Quick “pick this if…” rules (super fast)
- If you want maximum try-on flexibility, you’ll usually prefer top-down.
- If you really dislike purling, you may prefer in the round (more knit stitches).
- If you dislike fiddly circular needle management, you may prefer knit flat (but you’ll seam later).
Step 0: Choose a pattern that won’t trap you halfway
Before you commit, screen a sweater pattern like a project manager. Your goal is to avoid patterns that assume you already know what “pick up 96 sts evenly” means.
Beginner pattern checklist (the “yes/no” screen)
A good first-sweater candidate usually has:
- Skill level honestly stated (and the techniques list matches that claim).
- A techniques list you can read without panic (or you’re willing to learn 1–2 new techniques).
- Finished measurements for each size (not only “to fit bust”).
- A schematic (or at least detailed measurement list) for body and sleeves.
- Clear instructions for construction (top-down/bottom-up, in-the-round/flat, seamless/seamed).
- Enough explanation around common friction points:
- joining in the round
- increasing/decreasing
- separating sleeves
- neckline/neckband finishing
Red flags (not “bad patterns,” just risky as a first sweater):
- It’s labeled beginner but includes multiple advanced techniques (complex short rows, heavy colorwork, tricky finishing) with minimal explanation.
- It relies on vague instructions like “work even until desired length” without measurement guidance.
- It has no clear finished measurement table and expects you to pick S/M/L like store sizes.
Top-down vs bottom-up (what beginners gain/lose)
Top-down (often raglan or yoke):
- Pros: easier to try on, easier to adjust body/sleeve length mid-knit.
- Cons: neckline and early shaping can feel fiddly; you must follow stitch counts carefully.
Bottom-up:
- Pros: feels structured; some knitters find it more straightforward to track sections.
- Cons: you may commit more knitting before you can fully assess fit; finishing/seaming can be more demanding.
Rule of thumb: a clear pattern matters more than direction. Pick the format that matches how you like to learn and check fit.
Flat vs in-the-round (what feels easier in practice)
| Approach | Pros | Cons | Often easiest for… |
|---|---|---|---|
| In the round | Mostly knit stitches; fewer seams | Circular needle management; can get “ladders” at joins | Knitters who hate purling and want minimal seaming |
| Knit flat | Needle setup is simple; fabric is easy to lay out and measure | Requires purling; seaming later | Knitters who prefer simple tools and don’t mind seaming |
Beginner note: don’t convert a pattern from flat→round (or the reverse) for your first sweater unless you already know how shaping and stitch counts translate.
Free vs paid patterns: what to evaluate (not what to assume)
Paid patterns often come with more support—but not always. Free patterns can be excellent too. Evaluate support quality, not price:
- Are there step photos, video help, or detailed explanations?
- Is sizing clearly presented (finished measurements + ease guidance)?
- Does it explain new techniques or link to tutorials?
- Do the instructions read clearly end-to-end when you skim the whole thing once?
Fit Fundamentals 1: Gauge and swatching (so your sweater fits)
If you only do one “grown-up” thing for your first sweater, do this: swatch like you mean it.
A sweater is basically math in yarn. If your gauge is different from the pattern’s gauge, your measurements drift—sometimes a little, sometimes a lot.
How to swatch for a sweater (the beginner-safe method)
A reliable sweater swatch method looks like this:
- Knit a swatch that’s big enough to measure the center area (edges lie).
- Use the same needles, yarn, and stitch pattern the pattern specifies.
- Treat the swatch the way you’ll treat the sweater: wash/block/dry the same way.
- Measure gauge on the center of the swatch after it’s dry and relaxed.
- Compare your stitch gauge (and row gauge if the pattern depends on it).
- Record your results and what you did (needle size, washing method, notes).
If your gauge is off: needles vs yarn vs size (decision tree)
Use this decision logic instead of guessing:
-
If you have MORE stitches per inch than the pattern (your fabric is tighter):
- Try a larger needle first.
- Re-swatch and confirm you still like the fabric (not too loose or see-through).
-
If you have FEWER stitches per inch than the pattern (your fabric is looser):
- Try a smaller needle first.
- Re-swatch and confirm the fabric isn’t too stiff.
-
If you can match gauge only by making a fabric you hate:
- Consider a different yarn (same weight category isn’t always “same gauge”).
- Or choose a different pattern that better matches the fabric you like.
-
If you’re close but not exact:
- Decide whether the pattern is “measurement-driven” or “stitch-count-driven.”
- If the pattern gives finished measurements and relies on gauge for fit (most sweaters do), prioritize matching gauge or choosing a size using your gauge.
-
If your row gauge is off (rows per inch):
- Many sweaters let you adjust lengths by measuring as you knit.
- But some constructions depend on row gauge. When a pattern says row gauge matters, take it seriously.
Blocking basics: why measurements can change after washing/steam
Blocking is simply “finish the fabric the way it will live.” If your sweater will be washed, your swatch should be washed too—otherwise your “fit math” can change after you’re done.
Fit Fundamentals 2: Choosing size and ease (without guessing S/M/L)
What “ease” means (in plain English)
Ease is the difference between your body measurement and the sweater’s finished measurement at the same point.
Step-by-step size selection method (beginner-proof)
Do this before you cast on:
- Measure your body at the pattern’s key point (often chest/bust).
- Decide how you want it to fit (relaxed? close? layering room?).
- Use the pattern’s finished measurements to choose a size that matches your desired ease.
- If you own a sweater you love, measure it and use that as a real-world reference for “what feels right.”
- Double-check sleeve and body lengths against your preferences.
- Confirm you’re using the correct gauge (or adjust sizing using your real gauge).
If a pattern only gives “to fit chest” measurements, look for additional finished measurements or a schematic. If it doesn’t provide enough sizing info, it’s a riskier first project.
Mini table: Measurement → where to find it → why it matters
| Measurement | Where to find it | Why it matters |
|---|---|---|
| Chest/Bust circumference | Your body + pattern finished measurements | Primary fit point for most sweaters |
| Body length | Pattern schematic or length notes | Determines where hem lands and layering comfort |
| Sleeve length | Pattern schematic; measure a sweater you like | Long/short sleeves are a common disappointment |
| Upper arm circumference | Pattern schematic/finished measurements | Prevents tight sleeves even if body fits |
| Neck opening / neckband | Pattern notes + schematic | Avoids “too tight neckline” surprises |
| Yoke depth / armhole depth | Schematic or measurement list | Impacts mobility and where sleeves sit |
How to read the pattern’s sizing info and schematic (quick decoding)
Before you knit:
- Find the abbreviations and read them once.
- Identify which numbers belong to which size (patterns often list multiple sizes in parentheses).
- Look for a schematic or finished measurement list and match it to your intended size.
- “Pick up stitches” usually means adding stitches along an edge (often for neckbands, button bands, or armholes). If that phrase shows up repeatedly with no explanation, expect a learning step.
Materials & tools (make your first sweater easier)

Yarn that’s forgiving for beginners (and what to avoid)
“Forgiving” usually means:
- You can see your stitches (good stitch definition).
- The yarn isn’t so slippery that it’s hard to control tension.
- The yarn isn’t so fuzzy that you can’t read your knitting or fix mistakes easily.
Conditional guidance (because preferences vary):
- If you’re prone to dropping stitches, avoid extremely slick yarns.
- If you want easy mistake-fixing, avoid very fuzzy yarns that “grab” and hide stitches.
Safe yarn substitution checklist (so you don’t accidentally change the sweater)
If you substitute yarn:
- Match gauge and fabric, not just the label category.
- Swatch again after substitution (and treat the swatch like the sweater).
- Consider fabric behavior: drape, warmth, stretch, and how it changes after washing.
- Check yardage requirements in the pattern materials list and plan accordingly (avoid guessing exact amounts).
Tools checklist (essentials vs nice-to-have)
Essentials
- Needles specified by the pattern (straight or circular depending on construction)
- Stitch markers
- Tapestry needle (for weaving ends)
- Measuring tape
- Something to hold sleeve stitches (waste yarn or stitch holders)
- A way to track progress (notebook, row counter, notes app)
Nice-to-have
- Extra circular needles/cables for trying on
- Safety pins or removable markers for checkpoints
- Blocking tools appropriate to your fiber (no need to overbuy—start simple)
The sweater roadmap: main steps + the checkpoints that save you
The main steps (milestones) of a simple sweater
A beginner sweater workflow typically looks like:
- Read the pattern once and choose your size (don’t skip this).
- Swatch and confirm gauge (or decide how you’ll adjust).
- Cast on and set markers / establish pattern sections.
- Knit the upper structure (yoke/shoulders or panels).
- Separate sleeves and body (or join pieces if knit flat).
- Knit the body to length.
- Knit sleeves to length.
- Finish neckline/edges, bind off, weave ends.
- Block/finish, then measure final dimensions.
Checkpoints: what to measure (and when) so you catch fit issues early
Use checkpoints to avoid discovering problems at the finish line:
-
After the early structure (yoke/shoulder setup):
- Does the neckline feel comfortable?
- Is the yoke depth/shoulder area moving well?
-
Before sleeve separation (or before assembling pieces):
- Compare your in-progress measurements to the schematic/finished measurements.
-
Mid-body:
- Confirm body length direction (cropped? standard? longer?) before you commit more fabric.
-
Early sleeve:
- Check sleeve circumference and length plan.
-
Before finishing (neckband/bind-offs):
- Confirm you like the fit; finishing can tighten edges.
If something’s off at a checkpoint: what to do next
- If the sweater is the wrong size around: pause and reassess gauge + size choice (fix early, even if it means ripping back).
- If only lengths are off: adjust by knitting more/less length (most patterns allow this if you track consistently).
- If neckline feels tight early: consider whether the pattern’s neckline style suits you (sometimes the “best fix” is switching patterns before investing more time).
- If the fabric looks wrong: your gauge might be “correct” but the fabric isn’t what you want—this is where yarn choice or needle choice matters more than chasing numbers.
Troubleshooting: common beginner sweater mistakes (and quick fixes)
Symptom → likely cause → fix (quick-reference block)
-
Sweater too big/small overall
- Likely cause: gauge mismatch or size chosen by S/M/L rather than finished measurements
- Fix: revisit gauge; choose size based on finished measurements + desired ease
-
Twisted stitches (fabric looks like “braids” or is tighter than expected)
- Likely cause: knitting through the wrong loop consistently
- Fix: confirm stitch mount; fix now (twists compound and affect gauge)
-
Ladders when knitting in the round
- Likely cause: tension differences at needle joins
- Fix: adjust join tension, shift the join point periodically, or use a technique that distributes tension
-
Neckline feels too tight
- Likely cause: bind-off too tight, too few stitches picked up, or neckline style not for you
- Fix: use a stretchier bind-off; re-do pickup counts if possible; consider pattern choice earlier next time
-
Sleeves too long/short
- Likely cause: skipping sleeve checkpoints or assuming row gauge equals the pattern
- Fix: measure sleeves as you go; adjust length before cuffs/finishing
-
Uneven tension
- Likely cause: rushing, switching needle materials, inconsistent hand position
- Fix: slow down; use markers/checkpoints; consider needle material that helps you maintain even tension
-
Weaving ends looks messy
- Likely cause: rushing finishing
- Fix: weave ends along stable paths on the wrong side; block afterward to help ends settle
When it’s worth ripping back (and why that’s normal)
Ripping back is not failure—it’s quality control. If fit is wrong at an early checkpoint, fixing it then usually saves you more time than finishing a sweater you won’t wear.
FAQ (quick answers to common beginner sweater questions)
What makes a sweater pattern beginner-friendly?
Simple construction, limited new techniques, clear sizing/finished measurements, clear gauge, and enough support (photos/video/explanations) so you don’t get stuck.
Should I knit my first sweater top-down or bottom-up?
Top-down often makes try-ons and length adjustments easier. Bottom-up can feel structured but may delay fit feedback. Pick the clearer pattern and the construction that matches how you like to check fit.
Is it easier to knit a sweater flat or in the round?
In the round can reduce purling and seaming but adds circular needle management. Flat knitting is simpler tool-wise but requires purling and seaming. Use the approach that removes your biggest friction.
Do I really need to swatch for a sweater?
If fit matters, yes. Sweaters rely on gauge for finished measurements. Treat your swatch like your sweater (wash/block) so your gauge reflects real-life fabric behavior.
What if my gauge doesn’t match the pattern?
Adjust needle size first, then reassess. If you only match gauge by making a fabric you dislike, change yarn or choose a different pattern that suits your preferred fabric.
What is “ease” and how do I use it to pick size?
Ease is the difference between your body measurement and the sweater’s finished measurement at the same point. Choose a size by finished measurements and desired fit, not store-letter sizing.
Can I use a different yarn than the pattern calls for?
Yes, but swatch again. Match gauge and fabric behavior (drape/stretch), not just yarn “weight.” Treat the swatch like the sweater (wash/block) before deciding.
What are the most common beginner sweater mistakes?
Skipping swatching, choosing size by S/M/L instead of finished measurements, ignoring checkpoints, and pushing through fit issues without fixing them early.
Should a beginner use a free or paid sweater pattern?
Either can work. Choose based on clarity and support: finished measurements, schematic, technique explanations, and any photos/video that match your learning style.
Optional: Where to find beginner sweater patterns (without drowning in links)
Look for patterns where you can filter by difficulty, construction, and support:
- Pattern databases that show gauge, needles, and construction clearly
- Designers/brands that provide detailed tutorials and consistent sizing presentation
- Brand pattern portals for free patterns—just evaluate instruction clarity the same way you would a paid pattern
For brands: want sweaters made for your label? Here’s what a manufacturer typically needs (checklist)
If you’re creating sweaters as a brand (not hand-knitting), factories usually quote and sample faster when you can share:
- A tech pack or clear reference sample (photos + measurements)
- Size spec (and grading expectations if multiple sizes)
- Yarn/fiber preferences and the hand-feel target
- Knit structure references (stitch type, gauge target if known)
- Labels/packaging requirements
- Target quantities and timeline expectations (these vary by design, yarn availability, and order size)
- Shipping destination/terms so logistics and landed-cost assumptions are realistic
XTCLOTHES context (project config scope): OEM/ODM sweater development, sampling and bulk production, custom labels/packaging, and logistics/customs support (support/assist wording—no guarantees).