
Men’s Sweater Knitting Pattern Checklist: Fit, Gauge, Yarn & Construction
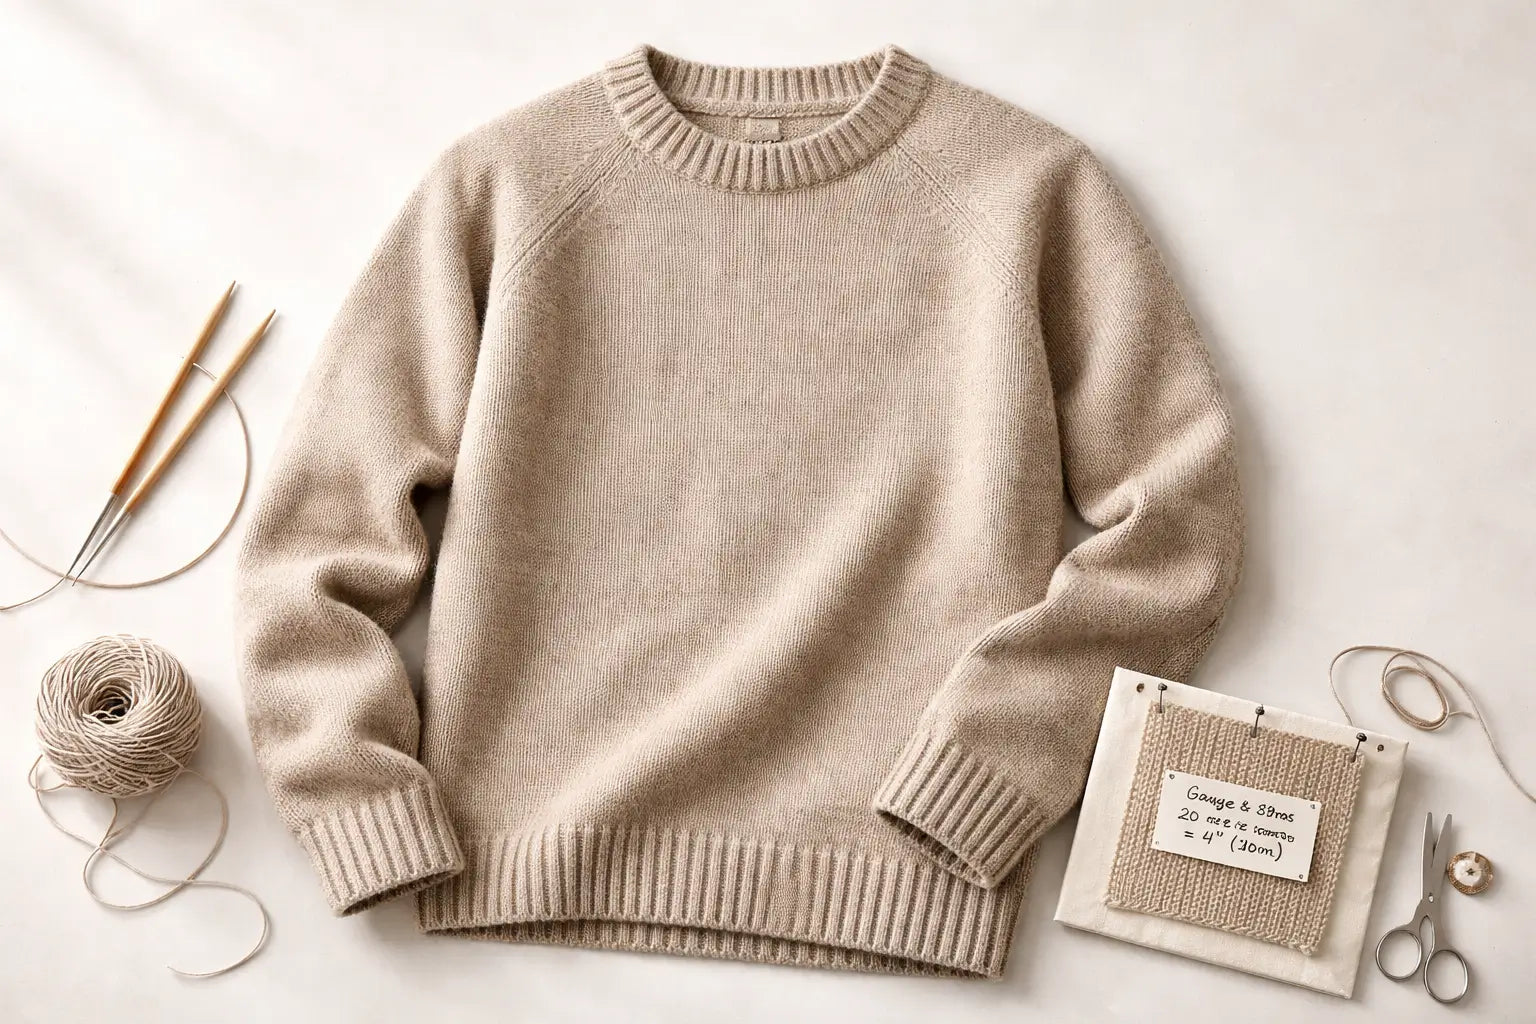
Men’s Sweater Pattern Checklist (Start Here)
A good men’s sweater knitting pattern is one you can evaluate quickly: it tells you how the sweater should fit (measurements + ease), what fabric it expects (gauge + yarn weight), and how it’s constructed (so you know what you’re signing up for).
- Confirm it includes finished garment measurements (not just
S/M/L). - Find the gauge statement and note whether it’s in stockinette or a featured stitch.
- Check the construction (top-down raglan, bottom-up, seamed, etc.) so you know when you can try it on.
- Read the yarn requirements (weight category, yardage/meterage, fiber notes if provided).
- Scan for neckline/finishing instructions (ribbing, pick-up, seaming).
- Look for clarity signals: a schematic, consistent abbreviations, and clear sizing logic.
- Before you cast on, plan a swatch workflow that matches how you’ll wash/block the finished sweater.
Boundary conditions / caveats
- Fit depends heavily on gauge and your ease preference, so this checklist reduces surprises but can’t guarantee outcomes.
- Two yarns in the same weight category can knit to different gauges; swatching is the safety net.
- Some patterns assume a specific fit style (classic vs relaxed vs oversized), so “right” is partly personal.
Once you know what a “complete” pattern looks like, it’s much easier to avoid buying or downloading something that won’t work for your goal.
What Makes a Good Men’s Sweater Knitting Pattern?
A “good” men’s sweater knitting pattern is one that gives you enough information to predict the sweater’s size, fabric, and construction before you invest weeks of knitting.
- A quality pattern lets you verify fit (finished measurements + ease intent).
- It makes the fabric expectation clear (gauge + recommended yarn weight).
- It states the construction method so you can judge adjustability and finishing work.
- It helps you avoid surprises with a schematic, clear sizing, and consistent instructions.
- It’s easy to compare across sources when the essentials are present (even if the style differs).
- If you’re still browsing, reputable patterns commonly come from yarn companies, magazines, and established designer platforms (but always apply the checklist).
Boundary conditions / caveats
- “Good” doesn’t always mean “easy”; complexity can be fine if the instructions are complete.
- Community favorites can still have unclear sizing; completeness matters more than hype.
- If a pattern page hides key details until after purchase, you may need reviews or previews to confirm essentials.
With those signals in mind, you can quickly separate “inspiration” from “instructions you can actually knit from.”
The pattern-quality checklist (what to confirm before you start)
A reliable men’s sweater pattern usually contains a few non-negotiables—if one is missing, expect extra trial-and-error.
- Finished garment measurements for each size (at least chest circumference and body length).
- A gauge statement (stitches and rows over a set measurement) and the stitch pattern used for measuring.
- Yarn requirements (weight category, yardage/meterage per size, and needle size suggestions).
- Construction description (top-down/bottom-up, seamed/seamless, sleeve type).
- A schematic or diagram showing measurement points.
- Clear size selection guidance (how sizes map to finished measurements and ease).
- Finishing details: neckline, cuffs, hem, and how they’re stabilized.
- Notes on techniques used (short rows, cables, colorwork, seaming) so you can gauge difficulty.
Boundary conditions / caveats
- Minimalist patterns can still work if measurements and gauge are clear.
- If the sweater uses a featured stitch (cables/colorwork), gauge in that stitch matters more than stockinette gauge.
- If the pattern is translated, check for consistency in terms and abbreviations.
Once you confirm the pattern has the essentials, the next decision is matching it to your real-world goal and risk tolerance.
Match the pattern to your goal: skill level, style, and time-risk
The fastest way to enjoy a men’s sweater knit is to pick a pattern whose construction and finishing match your comfort level—“simple” is often less about stitch count and more about predictable fit.
- If you want maximum adjustability: top-down patterns often let you try on and tweak length/sleeve fit earlier.
- If you want structure and a tailored look: seamed patterns can add definition and stability (at the cost of more finishing).
- If you want low chart stress: pick a pattern with minimal cables/colorwork and clear written instructions.
- If you’re knitting a gift: choose a fit that’s forgiving and a construction that lets you confirm dimensions along the way.
- If you’re new to sweaters: avoid stacking multiple “firsts” (new construction + complex stitch + unfamiliar finishing).
Boundary conditions / caveats
- Difficulty labels vary by publisher; read the technique list, not just the tag.
- A simple stitch pattern can still fail if sizing and gauge guidance are unclear.
- “Quick” depends on yarn weight, stitch pattern density, and your pace—plan for variability.
Once you’ve chosen a pattern that’s likely to match your goal, sizing and ease are the make-or-break steps for menswear fit.
Sizing & Ease: How to Pick the Right Size (and Adjust Length)
To pick the right size for a men’s sweater, start from finished garment measurements (not just the label), decide the kind of ease you want, and only trust the math after you’ve validated gauge.

- Men’s sweater fit hinges on chest measurement plus your preferred ease (classic vs relaxed vs oversized).
- “Body measurements” and “finished garment measurements” are not interchangeable—use the finished measurements when available.
- If you’re between sizes, decide what matters more: chest room, shoulder fit, or length.
- Length changes depend more on row gauge than stitch gauge, so track both.
- When knitting as a gift, choose a fit strategy that tolerates small sizing errors.
Boundary conditions / caveats
- Ease is preference-driven and pattern-dependent; there is no single “correct” number for everyone.
- If your gauge differs from the pattern’s gauge, finished size will change—sometimes dramatically.
- Different stitch patterns (ribbing, cables, colorwork) can change stretch and ease behavior.
With the basics framed, the next step is making the sizing decision concrete using a small, repeatable process.
The 3 measurements that matter most (and how to take them)
For most men’s sweaters, you can make a safe size choice with three measurements: chest, body length, and sleeve length.
- Chest circumference (body): measure around the fullest part of the chest, tape level and snug but not tight.
- Body length (preference): measure from high shoulder point to where you want the hem to land.
- Sleeve length (preference): measure from shoulder point (or neck/shoulder area, depending on pattern) to wrist.
Boundary conditions / caveats
- Patterns measure sleeve length differently (from underarm vs from shoulder); use the pattern’s schematic if provided.
- If the pattern includes shoulder width and upper arm circumference, those can be decisive for athletic builds.
- Measure consistently (same posture, same tape tension) to reduce noise.
Once you have these measurements, you can select a size using finished garment measurements and your preferred ease.
How to choose size and ease (step-by-step)
A reliable size choice comes from comparing your body to the pattern’s finished measurements and then deciding how much room you want.
- Identify the pattern’s finished chest measurement for each size.
- Decide your fit intent: classic, relaxed, or oversized (your comfort + style choice).
- Choose the size whose finished chest measurement matches your target fit when compared to your body chest measurement.
- Cross-check body length and sleeve length against your preference (and note any planned adjustments).
- Commit only after your swatch confirms you can match (or intentionally adjust) gauge.
Boundary conditions / caveats
- If the pattern doesn’t provide finished measurements, treat it as higher risk and look for a schematic or reviewer notes.
- If your chest fits but shoulders don’t, consider a construction that’s easier to adjust (see construction options below).
- If your stitch gauge changes after washing/blocking, re-check sizing assumptions before you continue.
With size and ease decided, construction choice determines how easily you can verify fit as you knit.
Between sizes, gift knitting, and safe length adjustments
When you’re between sizes or knitting for someone else, use decision rules that protect fit and comfort first.
- Between sizes: pick the size that best matches the chest and upper arm comfort you want, then adjust length as needed.
- Gift knitting: favor forgiving silhouettes and constructions that allow try-on checks or straightforward measurement checks.
- Safe body length adjustments: once you know your row gauge, add or subtract length in straight sections (like the body) rather than in shaping zones.
- Safe sleeve length adjustments: adjust in the sleeve’s straight section, keeping increases/decreases consistent.
Boundary conditions / caveats
- Some patterns bake in shaping (waist taper, shoulder slope); length edits may affect the look if pushed too far.
- If the sweater includes complex stitch patterns, length changes may require repeating chart sections cleanly.
- Always keep notes so you can reproduce or correct your adjustments.
Once fit planning is clear, construction is the lever that determines how you’ll experience the knitting (and how much finishing you’ll do).
Construction Options: Top-Down Raglan vs Bottom-Up vs Seamed
There isn’t one “best” sweater construction for men—top-down, bottom-up, and seamed builds each trade off adjustability, structure, and finishing effort.
- Top-down raglan: often easier to try on and adjust length or sleeve fit as you go.
- Bottom-up seamless: can be straightforward, but fit checks may come later depending on design.
- Seamed sweaters: add structure and can look more tailored, but require accurate seaming and finishing time.
- Sleeve type matters: raglan tends to be forgiving; set-in sleeves can look sharper but rely on precise shaping.
Boundary conditions / caveats
- The pattern’s shaping details often matter more than the direction alone.
- “Easier” depends on your comfort with seaming, picking up stitches, and reading shaping instructions.
- Some yarns and stitch patterns behave better with structure (seams can help prevent sagging).
A quick side-by-side view makes these trade-offs easier to choose from.
Quick comparison table: which construction to choose (and why)
This table is a practical way to pick a construction based on how you like to work and what you want the finished sweater to look like.
| Construction | Best for | Fit adjustability while knitting | Finishing effort | Typical look/feel |
|---|---|---|---|---|
| Top-down raglan (often seamless) | Try-on tweaks, flexible length, first sweaters | High (you can adjust as you go) | Medium (neckline + finishing details) | Relaxed, comfortable shoulder line |
| Bottom-up seamless | Knitting-in-the-round preference, simple body flow | Medium (depends on pattern; try-on later) | Low–medium (less seaming, still needs finishing) | Clean, continuous fabric |
| Seamed / set-in sleeve | Structure, tailored silhouette, stable fit | Lower (must follow shaping accurately) | Higher (seaming + finishing) | More defined shoulders and shape |
Boundary conditions / caveats
- Treat these as trade-offs, not rankings—many “hard” methods become easy with practice.
- Shoulder fit is influenced by body proportions and pattern grading, not just construction type.
- If you choose a complex stitch pattern, plan extra time for gauge and finishing.
If you know what trade-off you want (adjustability vs structure), choosing yarn becomes simpler because you can plan for fabric behavior and stability.
Choose this construction if… (3 quick scenarios)
If you’re stuck deciding, pick the construction that best matches your highest priority.
- You want to reduce fit anxiety: choose a construction that lets you measure or try on early and often.
- You want a crisp, menswear-style silhouette: choose a construction that emphasizes shaping and structure, and be willing to seam carefully.
- You want the simplest finishing workload: choose a construction with fewer seams and straightforward edges.
Boundary conditions / caveats
- A clear, well-graded pattern can make any construction feel manageable.
- If you strongly dislike one finishing task (seaming, picking up neck stitches), weight that heavily in your choice.
- Construction choice doesn’t replace gauge work—fabric still controls size.
Now that you know how the sweater will be built, yarn choice and substitution rules help you keep the final size and look on track.
Yarn Choice & Substitution Rules (So Fit Doesn’t Change)

Choose yarn based on the pattern’s gauge and yarn weight expectations first, then use substitution rules that protect gauge—because yarn swaps are one of the most common ways sweaters end up the wrong size.
- Start from the pattern’s stated yarn weight category and gauge; this is the fabric recipe.
- Fiber affects behavior: elasticity, drape, warmth, and how the sweater changes after washing.
- Substitution works best when you can match stitch gauge in the actual sweater stitch pattern.
- Yardage/meterage matters: equal weight of yarn does not always mean equal length or fabric density.
- Yarn weight terminology is standardized in many craft references; one common reference is the Craft Yarn Council’s yarn weight system.
Reference: Craft Yarn Council – Standard Yarn Weight System
Boundary conditions / caveats
- Two yarns in the same weight category can produce different gauges on the same needles.
- Cables and colorwork often tighten gauge; swatch in the real stitch pattern.
- If you change fiber dramatically (e.g., from elastic to less elastic), fit and recovery can change even if gauge matches.
If you want the shortest, safest path to a good result, prioritize yarn decisions that minimize “unknowns.”
Choosing yarn for the pattern (weight, fiber, and care—what to prioritize)
The best yarn choice is the one that matches the pattern’s intent and your wearer’s needs, without adding avoidable risk.
- Weight first: match the pattern’s weight category and aim for the same gauge.
- Elasticity and recovery: yarns with good recovery can help sweaters keep shape, especially at cuffs and hems.
- Drape and density: heavier, denser fabrics can feel structured; lighter fabrics can drape more.
- Care reality: pick a yarn you (or the wearer) will actually wash and maintain correctly.
- Comfort and climate: choose warmth and breathability based on how and where the sweater will be worn.
Boundary conditions / caveats
- Even “washable” yarns can change dimensions after the first wash; test via a swatch.
- Skin sensitivity is personal—if in doubt, test comfort before committing to a full sweater quantity.
- If you are using a different yarn than recommended, plan extra swatching time.
Once yarn is chosen (or substituted), the safety mechanism is applying substitution rules that keep size predictable.
Safe substitution rules (if/then) — the minimum you must check
If you substitute yarn, use these rules to protect gauge and finished size.
- If you change yarn weight category: assume the fabric and size will change unless you can match gauge with a swatch.
- If you change fiber type a lot: expect different stretch and post-wash behavior, even at the same gauge.
- If the sweater stitch pattern isn’t plain stockinette: swatch in the actual stitch pattern (cables/colorwork can shift gauge).
- If your stitch gauge matches but row gauge doesn’t: plan length adjustments using your measured row gauge.
- If the substituted yarn has different yardage/meterage per ball: recalculate how much you need; density can change.
Boundary conditions / caveats
- “Same yarn weight” does not guarantee “same gauge.”
- A swatch only helps if you treat it like the final sweater (wash/block the same way).
- If you can’t match gauge within a reasonable range, consider switching yarn again before switching sweater size.
With yarn decisions made, gauge and swatching become the practical step that turns your plan into a sweater that fits.
Gauge & Swatching: Step-by-Step Workflow
If you want a men’s sweater to fit, swatching is the simplest insurance: it confirms whether your yarn + needles + stitch pattern produce the fabric size the pattern expects.
- Sweaters amplify small gauge differences into big size differences.
- Swatching tells you whether you need to change needles, adjust size, or rethink yarn.
- Blocking and washing can change gauge, so measure after the swatch is treated like the finished sweater.
- Stitch gauge affects width; row gauge affects length planning.
- A repeatable process keeps swatching from feeling endless.
Boundary conditions / caveats
- Swatch edges distort; measure the center of a large-enough area.
- Gauge can shift after washing, especially with some fibers and stitch patterns.
- If your gauge is unstable across swatches, pause and simplify variables (needle size, yarn choice, stitch pattern).
A concrete, short workflow makes swatching feel like progress instead of procrastination.
The 7-step swatch workflow (the version you’ll actually follow)
This is the simplest swatching routine that works for most sweater situations.
- Make a swatch big enough to measure the center area comfortably (avoid tiny swatches).
- Swatch in the same stitch pattern used for gauge in the pattern (not “whatever’s easiest”).
- Use the pattern’s suggested needles as your starting point.
- Wash/block the swatch the way you’ll treat the sweater (same method, same handling).
- Let it dry fully, then measure stitch gauge in the center area.
- Measure row gauge as well (you’ll use it for length adjustments).
- If gauge is off, change needle size (or yarn), then repeat with the smallest change first.
Boundary conditions / caveats
- If the sweater uses multiple stitch patterns, gauge may differ by section; swatch the one that controls fit most.
- If your swatch fabric feels wrong (too stiff/too floppy), treat that as a valid signal to reconsider yarn.
- Record your swatch results so your future self doesn’t re-learn the same lesson.
If something doesn’t match, a small troubleshooting plan keeps you from guessing your way into a bad fit.
Troubleshooting: stitch gauge matches but row gauge doesn’t (or nothing matches)
You can often fix gauge issues without rewriting the whole pattern—if you diagnose the mismatch correctly.
- Stitch gauge matches, row gauge doesn’t: use your row gauge to adjust length (add/remove rows where the pattern allows).
- Stitch gauge is off by a small amount: adjust needle size and re-swatch before changing pattern size.
- Stitch gauge is far off: consider changing yarn; forcing gauge can create a fabric you don’t like wearing.
- Fabric looks good but gauge won’t match: decide whether you can safely follow a different size using finished measurements as the target.
Boundary conditions / caveats
- Don’t start the sweater until you understand how your gauge affects finished measurements.
- If the pattern is heavily charted or shaped, size substitution can be risky unless finished measurements are clear.
- When in doubt, choose the path that preserves fabric quality and comfort, not just the number.
Once gauge is stable, the last “big” success factor is avoiding the common mistakes that make sweaters feel frustrating or look unfinished.
Common Mistakes (and the Pre-Flight Checklist)
Most men’s sweater disappointments come from skipping one of three steps: verifying measurements, validating gauge, or planning finishing—so a short pre-flight checklist prevents weeks of rework.
- Mistakes in ease and gauge compound into major fit surprises.
- Unclear patterns can be workable if you slow down and confirm the essentials.
- Many finishing problems are preventable if you plan edge stability early (neckline, cuffs, hem).
- Checking fit checkpoints early saves time and yarn.
- A short routine makes “starting” feel safe and deliberate.
Boundary conditions / caveats
- Some patterns assume a certain fit style; confirm the intended silhouette before blaming yourself.
- Not all problems are user error—pattern clarity and grading quality vary.
- If a sweater is going wrong early, stopping to re-check inputs is often the fastest solution.
A concise list of common pitfalls makes it easier to catch problems before they become permanent.
Top mistakes (mistake → what happens → how to prevent it)
These are the pitfalls that most often cause men’s sweaters to fit poorly or look less polished.
- Skipping the swatch → sweater ends up too big/too small → swatch, wash/block, measure the center.
- Choosing size by label only → chest/shoulders feel wrong → use finished measurements + ease choice.
- Assuming “same yarn weight” equals same gauge → unexpected size shift → apply substitution rules and re-swatch.
- Ignoring row gauge → sleeves/body too long/short → measure row gauge and adjust lengths intentionally.
- Rushing finishing → stretched necklines, sloppy seams/ends → plan finishing steps and stabilize edges.
- Not tracking modifications → can’t repeat the fit later → keep a simple note log as you knit.
Boundary conditions / caveats
- Some mistakes are only visible after washing/blocking, so plan your timeline accordingly.
- If you’re learning, pick one “new skill” at a time to reduce stacked risk.
- A pattern can be correct and still not match your preference; adjust based on your goal.
Before you cast on, a short “start safe” checklist turns your plan into action.
The pre-flight checklist (what to do before you cast on)
If you do only one thing for sweater success, do this.
- Confirm the pattern includes finished measurements and a gauge statement.
- Decide your target fit (classic/relaxed/oversized) and choose size using finished measurements.
- Choose yarn and needles with a clear plan (and a substitution rule if you’re swapping yarn).
- Swatch in the correct stitch pattern, wash/block, and measure stitch + row gauge.
- Read the construction overview so you know when and how you’ll check fit.
- Prepare finishing essentials (markers, tapestry needle, measuring tape, blocking plan).
Boundary conditions / caveats
- If any core input is unknown (measurements, gauge, or construction), pause and clarify before knitting.
- If the pattern relies on charts and you dislike charts, choose a different pattern rather than forcing it.
- If you’re knitting for someone else, prioritize forgiving fit and check dimensions more often.
Once the fundamentals are handled, style choices become fun instead of risky.
Style Options at a Glance: Crew, V-Neck, Cables, Cardigans

Most men’s sweater styles can be made sweater-safe if you understand what each style changes in finishing, gauge sensitivity, and fit.
- Crewneck: classic, straightforward finishing, and easy to layer.
- V-neck: requires clean neckline shaping and stable finishing to avoid stretching.
- Cables/textures: add visual interest but can change gauge and stretch behavior.
- Cardigans: add button bands and extra finishing, but can be more forgiving in fit.
- Colorwork: can tighten gauge; swatching becomes even more important.
Boundary conditions / caveats
- Style “popularity” changes by trend and region; choose based on wardrobe and comfort.
- Complex stitches can be worth it—just budget extra time for swatching and finishing.
- If you want a first sweater to succeed, choose the style with the fewest finishing surprises.
A quick risk-aware style pick helps you narrow pattern searches without turning this page into a pattern library.
Pick a style based on fit and knitting risk (quick bullets)
If you’re choosing between styles, pick the one that aligns with your fit needs and your tolerance for finishing work.
- Lowest risk for first sweaters: simple crewneck, minimal texture, clear size info.
- Most forgiving fit: styles that allow layering and don’t rely on a sharp shoulder line.
- Highest finishing demand: cardigans (bands/buttons), deep V-necks, complex collars.
- Most gauge-sensitive: dense cables and multi-color patterns.
Boundary conditions / caveats
- A well-written pattern can make an advanced style feel manageable.
- If the wearer hates snug necklines, prioritize neckline comfort over trend.
- If you’re swapping yarn, keep the style simple to reduce variables.
If you’re a maker, you can stop here and confidently choose and execute a pattern; the next section is only for people turning a design idea into a product specification.
For Brands/Designers (Optional): Pattern Inspiration → Tech Pack Starter
If you love a sweater pattern’s look and want to produce something similar at scale, you need a tech pack-style specification (measurements, materials, construction details)—not the pattern’s step-by-step instructions.
- A knitting pattern tells a maker how to knit; a tech pack tells a manufacturer what to build and how to measure it.
- The most helpful inputs are a clear silhouette reference, a measurement spec, and fabric/knit intent (yarn + stitch density + techniques).
- A simple sampling loop (sample → feedback → revision) is normal when translating inspiration into production.
- Be careful with IP: use “inspired by” references and original specs instead of copying proprietary instructions.
Boundary conditions / caveats
- This section is general guidance; manufacturing outcomes depend on methods, yarns, and iteration.
- Do not copy copyrighted pattern text/instructions for commercial production; create original documentation.
- If legal/IP boundaries are unclear in your market, consult a qualified professional.
If you’re new to production, clarifying the difference between a pattern and a tech pack prevents the most common miscommunication.
Knitting pattern vs tech pack: what each is for
A knitting pattern is an instruction manual for making one sweater, while a tech pack is a specification document for producing a consistent product across sizes and runs.
- Pattern: steps, counts, and techniques for a knitter to follow.
- Tech pack: measurement points, tolerances, materials, trims, and construction notes a factory can execute repeatedly.
Boundary conditions / caveats
- A pattern may not include the measurement detail needed for production grading.
- Production methods (machine knit vs hand-knit look) can change the final appearance.
- “Same look” often requires sampling iterations, not a single pass.
Once you know the document types, the fastest path forward is assembling a concise spec package.
Tech pack starter checklist for a men’s sweater (what to send for a sample quote)
This checklist is a practical “minimum viable spec” you can assemble even if you started from pattern inspiration.
- Reference photos (front/back/close-ups) and a short silhouette description.
- Measurement spec: chest, body length, sleeve length, shoulder width, cuff/hem dimensions (as needed).
- Intended fit description (classic/relaxed/oversized) and size range you plan to sell.
- Yarn/fiber targets and handfeel goals (soft, crisp, heavyweight, etc.), plus color requirements.
- Stitch/technique callouts (e.g., jacquard, intarsia, ribs, cables) and any artwork placement notes.
- Trims and branding: labels, care label language, packaging needs (if applicable).
Boundary conditions / caveats
- If you only have inspiration images, expect more sampling rounds to align on fabric and measurements.
- If the knit technique is complex, include close-up references to reduce ambiguity.
- Final cost and timeline depend on design complexity, materials, and order quantity.
After the initial spec is shared, a simple sampling loop keeps expectations aligned without overpromising.
Sampling loop (simple): sample → feedback → revision → bulk
Most product development works best as an iterative loop rather than a single “perfect” instruction set.
- Share your spec + references and request a sample.
- Review the sample against measurements, handfeel, and key visual details.
- Provide clear feedback (what to change and how to measure it).
- Repeat until you approve, then move to bulk production.
Boundary conditions / caveats
- Timelines and iterations vary by design, yarn availability, and quantity.
- Some differences (hand-knit vs production knit) may require design adjustments to match the vibe.
- Keep change requests focused to prevent endless revisions.
If you’re developing a men’s sweater for your brand and want to move from inspiration to a production-ready spec, prepare your references and measurement list first—then reach out at https://xtclothes.com/ to discuss sampling and next steps.
If you’re here primarily to knit, the FAQ below answers the most common “what if” questions that come up during pattern selection.
FAQ: Men’s Sweater Knitting Pattern Questions
-
Q: What makes a good men’s sweater knitting pattern?
A: A good pattern gives finished measurements, a gauge statement, and clear construction/finishing instructions so you can predict fit and fabric before you start. Look for a schematic, consistent sizing logic, and a technique list that matches your comfort level. If key details are missing, expect extra swatching and adjustment work. -
Q: How do I choose the right size for a men’s sweater knitting pattern?
A: Choose by finished garment measurements, not the label, then decide how much ease you want for the intended fit. Compare the pattern’s finished chest measurement to your body chest measurement, cross-check body and sleeve length, and only commit once your swatch confirms gauge. -
Q: How much ease should a men’s sweater have?
A: It depends on the look and comfort you want—classic fits use less room, relaxed fits use more, and oversized fits use the most. Many sizing guides explain ease as a fit choice rather than a fixed rule; see examples in resources like Purl Soho’s ease guide and Interweave’s discussion of ease. Treat any numbers you see as starting points, not universal prescriptions. -
Q: Is top-down raglan easier than a seamed sweater?
A: Often, yes—top-down raglans can feel easier because you can adjust fit as you knit and avoid major seaming, while seamed sweaters trade more finishing work for added structure. That said, clarity of instructions and your comfort with finishing tasks matter as much as the method itself. -
Q: Do I really need to swatch for a sweater?
A: If you care about fit, swatching is the simplest way to avoid a sweater that’s the wrong size. Sweaters magnify small gauge differences, and washing/blocking can change dimensions, so a treated swatch helps you make sizing decisions with fewer surprises. -
Q: What do I do if I can’t match the pattern gauge?
A: First, change needle size and re-swatch after washing/blocking; small needle changes often solve small gauge gaps. If the fabric still won’t match gauge (or feels wrong), consider changing yarn; as a last resort, select a different pattern size using finished measurements as the target. -
Q: Can I substitute yarn for a men’s sweater pattern without changing the size?
A: Sometimes, but only if you can match stitch gauge (and manage row gauge for length) in the actual sweater stitch pattern. Yarn weight terminology helps you choose a starting point, but it doesn’t guarantee gauge—see the Craft Yarn Council yarn weight system for standard definitions, then validate with a washed/blocked swatch.
Summary: Your 5-Minute Plan Before You Cast On
A men’s sweater goes well when you treat it like a small project: confirm the inputs, validate gauge, and pick the construction that matches your risk tolerance.
- Use the pattern-quality checklist to confirm finished measurements, gauge, yarn requirements, and construction before you commit.
- Decide your fit intent (classic/relaxed/oversized), then choose size by finished chest measurement—not by label.
- Choose yarn to match gauge and fabric intent first; apply substitution rules if you’re swapping yarn.
- Swatch in the real stitch pattern, wash/block, and measure both stitch and row gauge.
- Pick a construction that matches your preferences (try-on adjustability vs structure vs finishing workload).
If you’re knitting a gift or working with uncertain sizing, prioritize forgiving fits and frequent measurement checks; if you’re developing a sweater for a brand, assemble a tech pack-style spec and expect sampling iterations.
